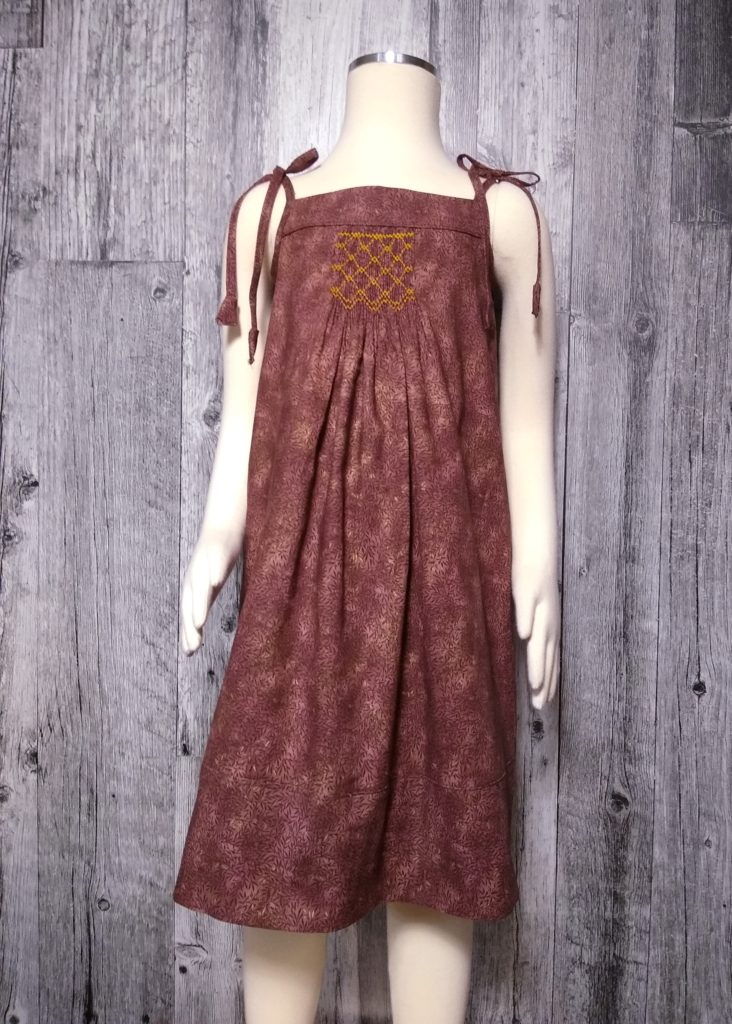
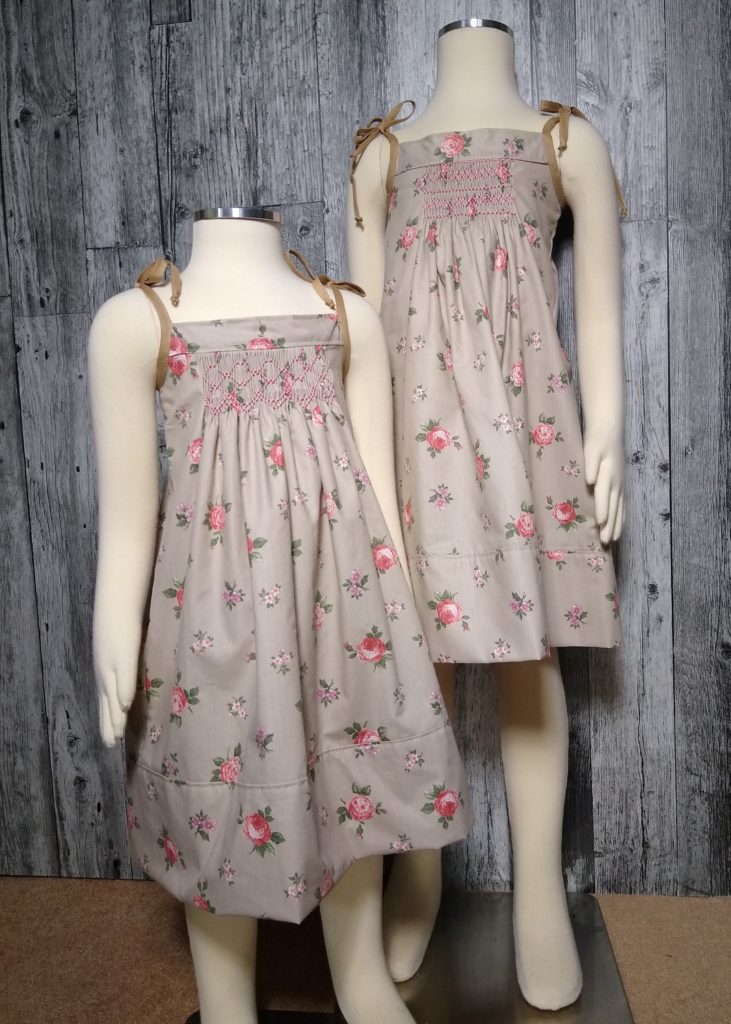

How to make a smocked dress from a pillowcase.
Pillowcase dresses are fun to make. In North America, pillowcases are about 20 inches (51cm) wide. So when gathering with smocking you need to pleat up the correct amount of the fabric to make sure that the dress is not too tight around the chest. I designed this pattern to fit sizes Age 1 -5. It is designed to use regular North American pillowcases and not envelope style pillowcases. You can make these dresses using regular fabric but remember to add the seam allowance for the side seams. Smocking dots are recommended when using a pillowcase because the side seams are already stitched. The thread count may be high too. They will break needles of a pleater. The length can also be adjusted if needed. The pattern and smocking dots are available in my website and Esty store.
Total Time Needed :
5
Hours
1
Minute
Total Cost:
under 10
USD
Required Tools:
Materials And Notions Needed.
-Lightweight Fusible Interfacing. 3×9 inches (13×23 cm)
-Double Fold Bias Tape. (Single fold can be used but it will be doubled)
–Smocked Pillowcase Dress Pattern
–Smocking Dots
-Embroidery Floss
Steps to make the smocked pillowcase dress.
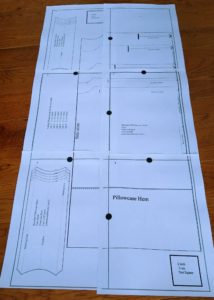
Download the pattern.
Print the pattern. When printing, set the printer to print at 100%. DO NOT SET IT TO “FIT PAGE”. Join the pattern pages.
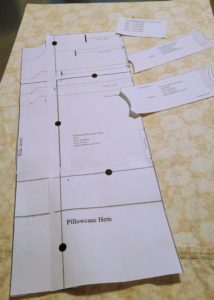
Cut out the pattern pieces for the size required.
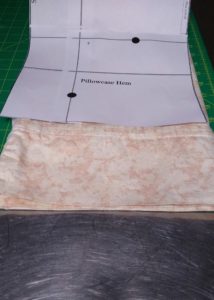
Fold the pillowcase in half lengthwise.
Position the pattern pieces on the pillowcase.
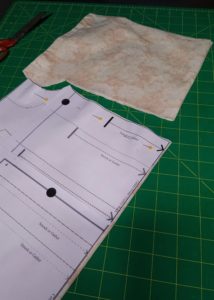
Cut the dress. Place the bottom of the pattern to the bottom of the pillowcase. (The open side of the pillowcase.)
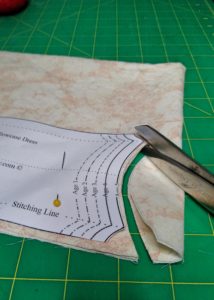
Cut out the 2 yoke pieces.
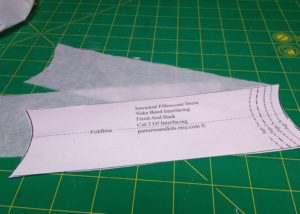
Cut out the two pieces of interfacing for the yoke
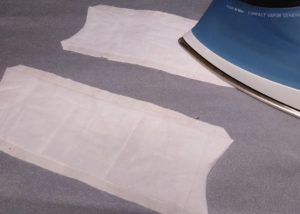
Iron on the interfacing according to the manufacture’s instructions.
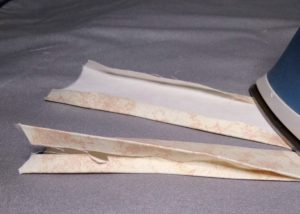
Press the seam allowance towards the wrong side of the fabric.
Fold the fabric in half and press.
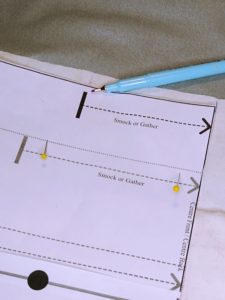
Transfer all the markings for the centre front and back as well as the markings for the smocking.
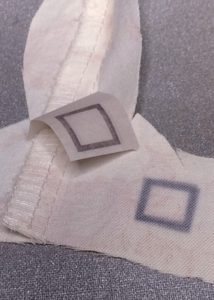
Prepare the fabric for the smocking dots.
Test the another section of the transfer on a scrap of fabric using a hot dry iron (no steam).
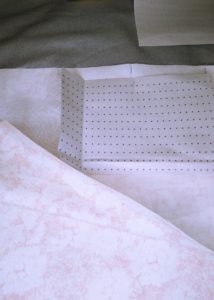
Cut the required amount of smocking dots.
You may need to add one or two dots to balance the design.
The pattern allows for this small adjustment.
Position the smocking dots between the marked lines on the wrong side.
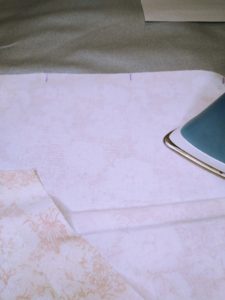
Preheat the fabric with a hot dry iron to remove any moisture.
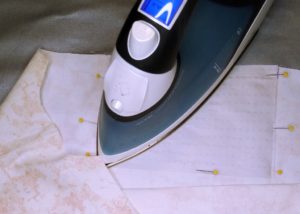
Secure the dots to the wrong side of the fabric with pins.
Iron on the smocking dots with a dry iron (no steam).
DO NOT MOVE THE PAPER WHILE PRESSING
Press on the smocking dots with a dry iron (no steam).
Repeat for the other side.
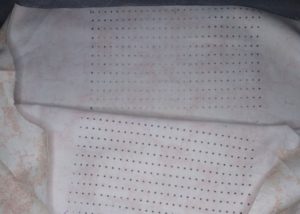
Repeat for the other side.
I reused the same dots for the other side because the fabric colour was very light.
It was not as clear but with good lighting, I managed to pleat the up with no issues.
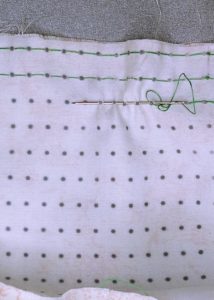
Pick up on either side of the dots.
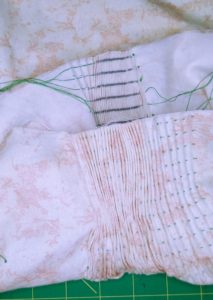
Pleat up the fabric on both the front and back.
And complete the smocking.
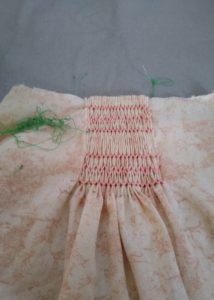
Prepare to sew the yoke to the dress.
Keeping the holding rows, remove the rest of the pleating threads.
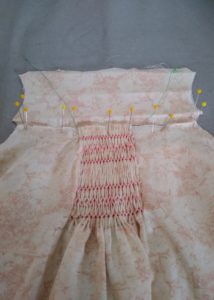
Straighten out the dress top slightly to match the yoke.
Use the holding rows to manipulate the smocking to fit the yoke.
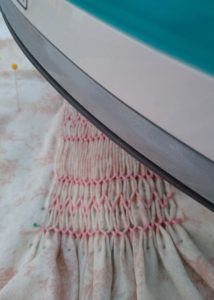
Block the smocking using a steamer or steam iron to fit the yoke.
DO NOT TOUCH THE SMOCKING WITH THE IRON.
Let it dry completely.
I usually leave it to dry for a few hours.
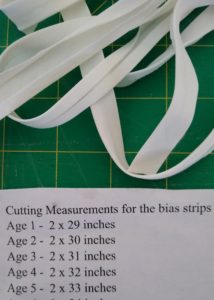
Cut the bias strips to the required length.
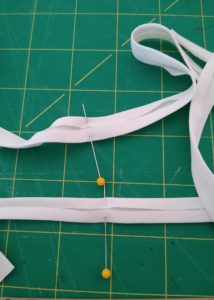
Fold straps in half lengthwise, matching the short ends and mark the centre.
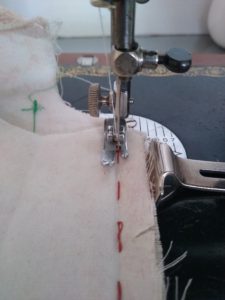
Stitch the yoke to the dress panel.
I prefer to baste before completing this step to ensure that the smocked line is straight.
Press the seam flat to set the stitches.
(DO NOT IRON THE SMOCKING)
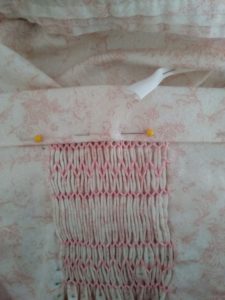
Fold the yoke over the seam allowances to the right side of the dress.
Pin the folded edge of the yoke so that the edge covers the stitching line.
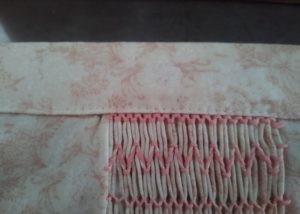
Top stitch the yoke to the dress panel.
Complete the other yoke attachment in the same way.
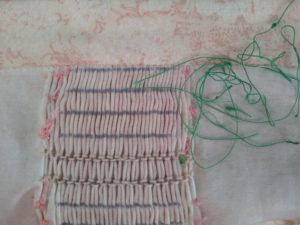
Remove the holding rows.
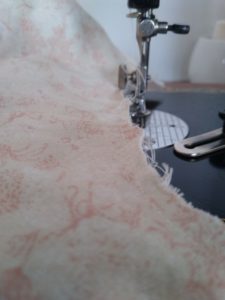
Sew a row of straight stitches about 3mm (1/8 inch ) around the armhole to avoid stretching.
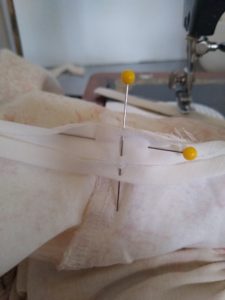
Turn the dress wrong side out.
Unfold one end of the bias binding.
Match the centre of the strap to the side seam of the dress.
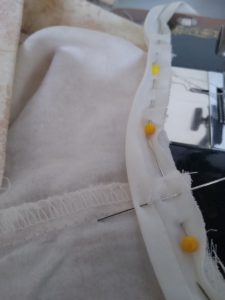
Pin the strap around the armhole starting at the side seam working toward the yoke.(the right side of the bias tape to the wrong side of the dress.)
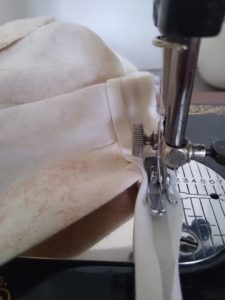
Sew the bias strip around the armhole.
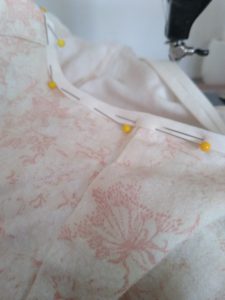
Fold over the bias strap towards the front covering the stitching lines.
Pin to hold in place.
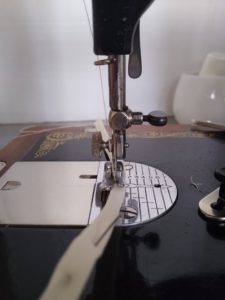
With the right-side facing, top stitch the strap starting at one end, sewing down the strap, around the armhole, and up the other end of the strap.
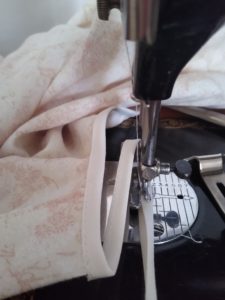
Complete the other shoulder strap in the same way.
Tie a knot at the ends to avoid fraying.
Submit your review | |