Your cart is currently empty!
Author: gunksdesigns goonksdesigns
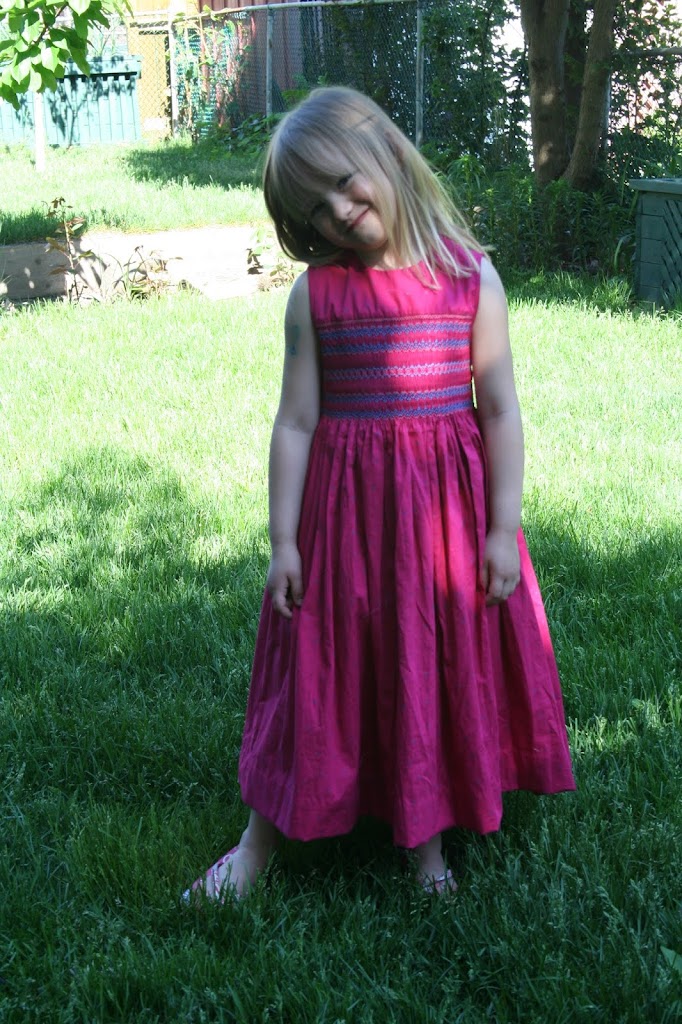
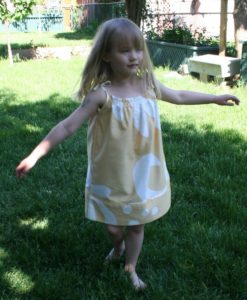
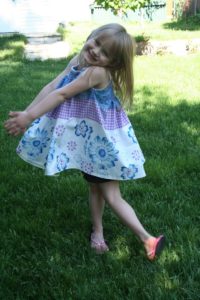
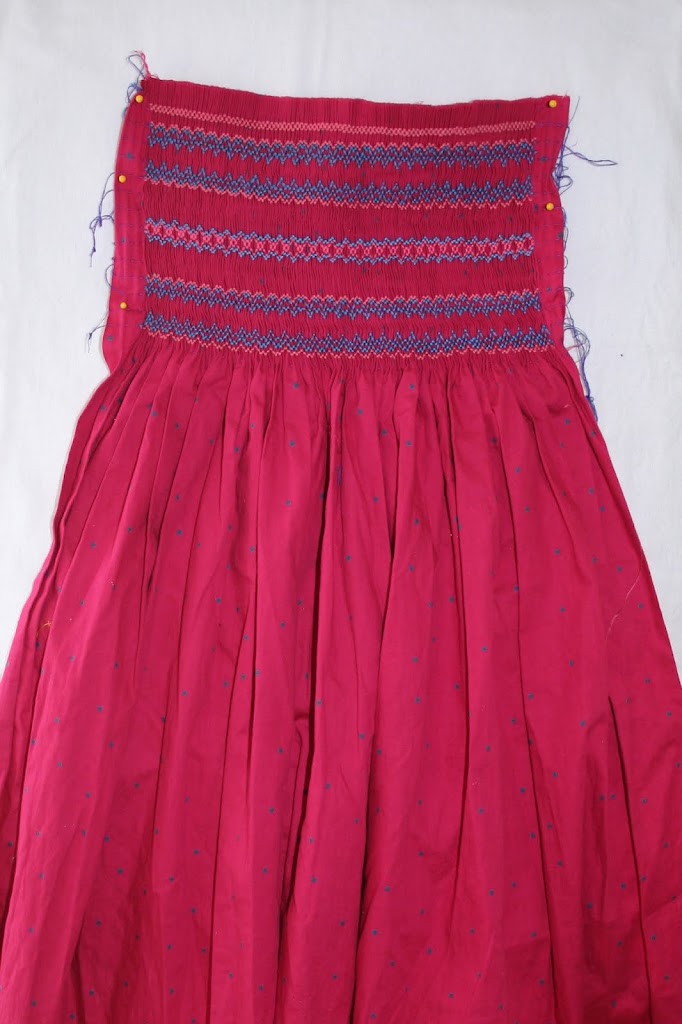
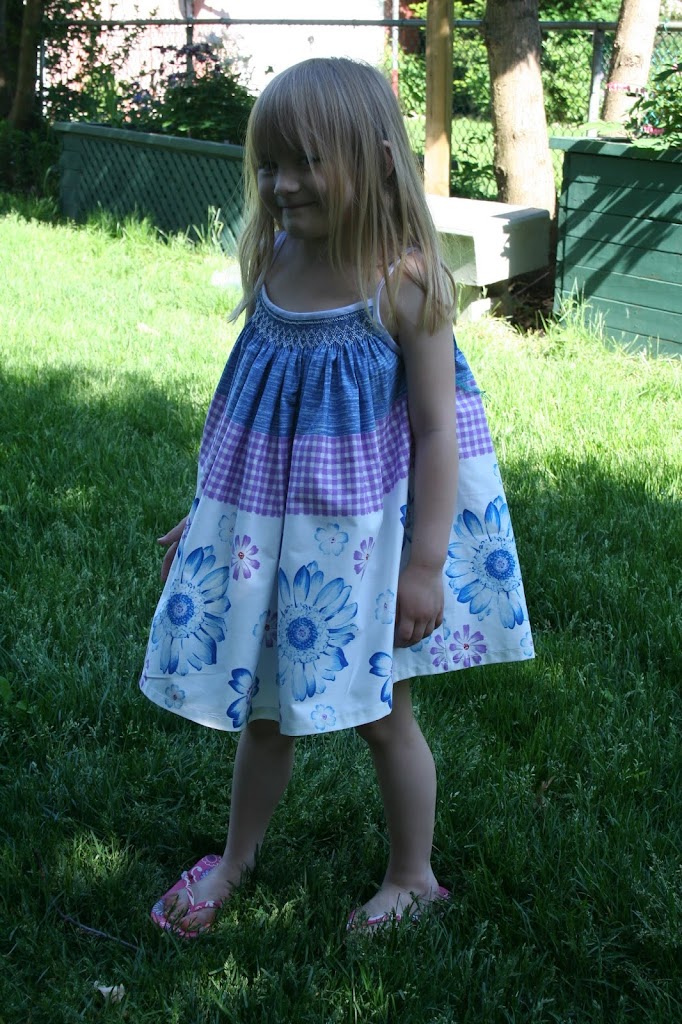
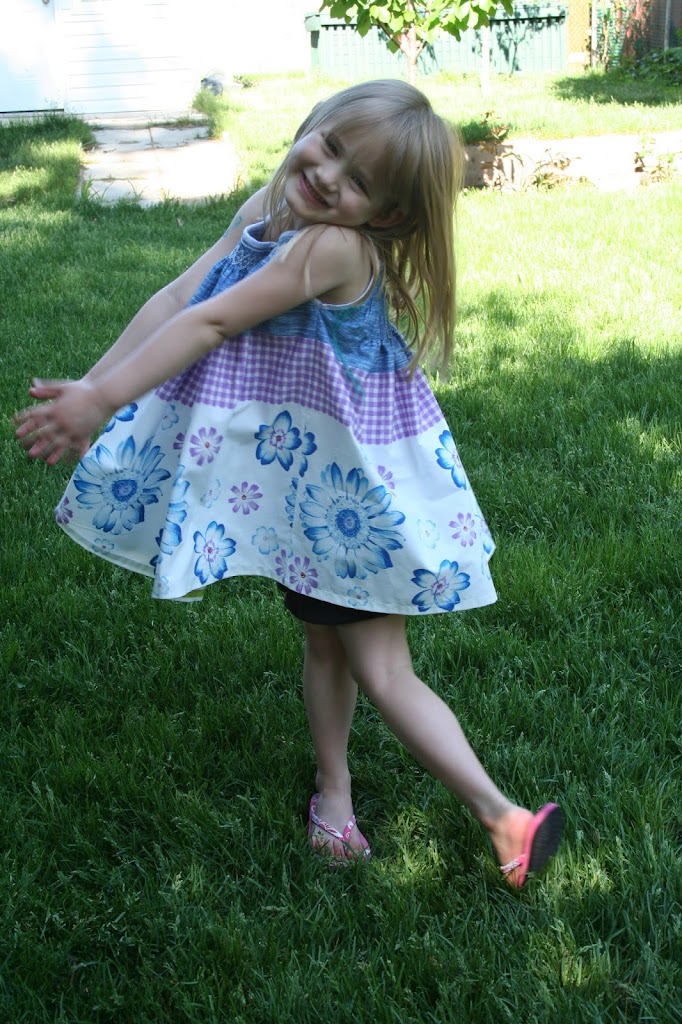
Pink Dress With Blue Dots. Smocked Dress

This piece of fabric had been in my stash for a long time. I thought it would make a pretty smocked dress.
Since I was in the mood to do some English Smocking, I decided to pleat it up and get smocking.
I really enjoyed making it. The colours worked well. The fabric was good to work with and the dress turned out well.

Ready for blocking.
Blocked and ready to be cut and stitched.
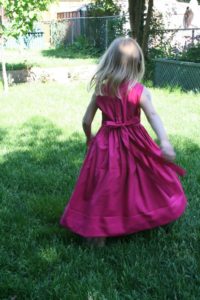
For the back, I extended the smocking to to meet the end of the smocking on the front of the dress.

All done and ready for this pretty girl to wear.

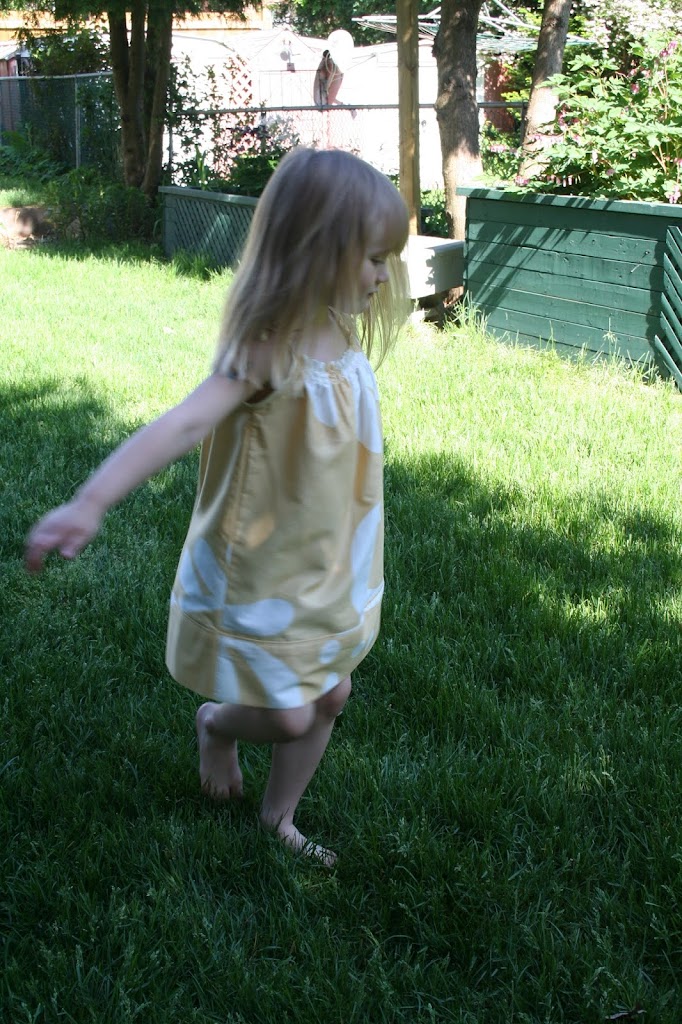
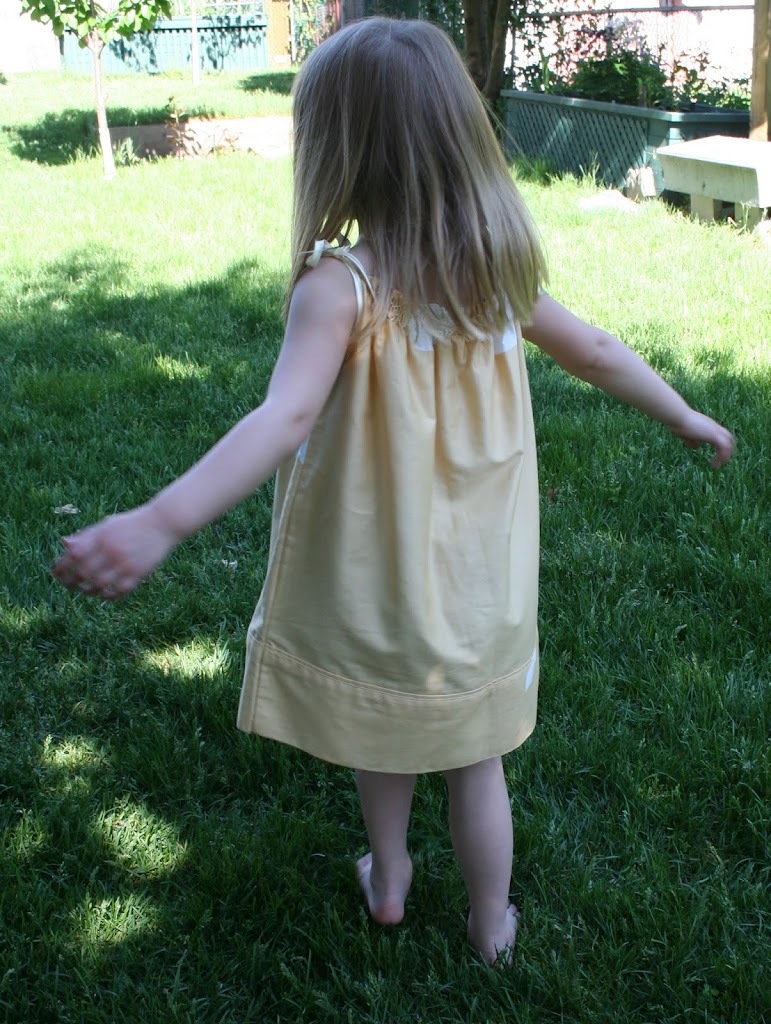
Smocked Pillowcase Dress
Pillowcase dresses are fun to make. It’s good to change things up a bit though. For this one I decided to add some smocking,
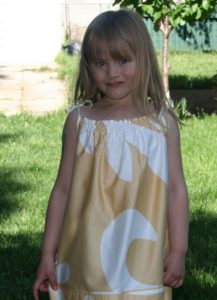

Because of the limited width of the pillowcase, the smocking has to be loose. This will prevent the top from being too tight.
The smocking was done on the front and back of the dress.I used satin bias binding to make the ties and neaten the armhole.I could smock, using the correct tension for the stitches because I used fabric which was wider than the pillowcase.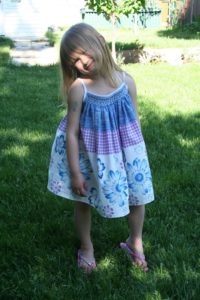
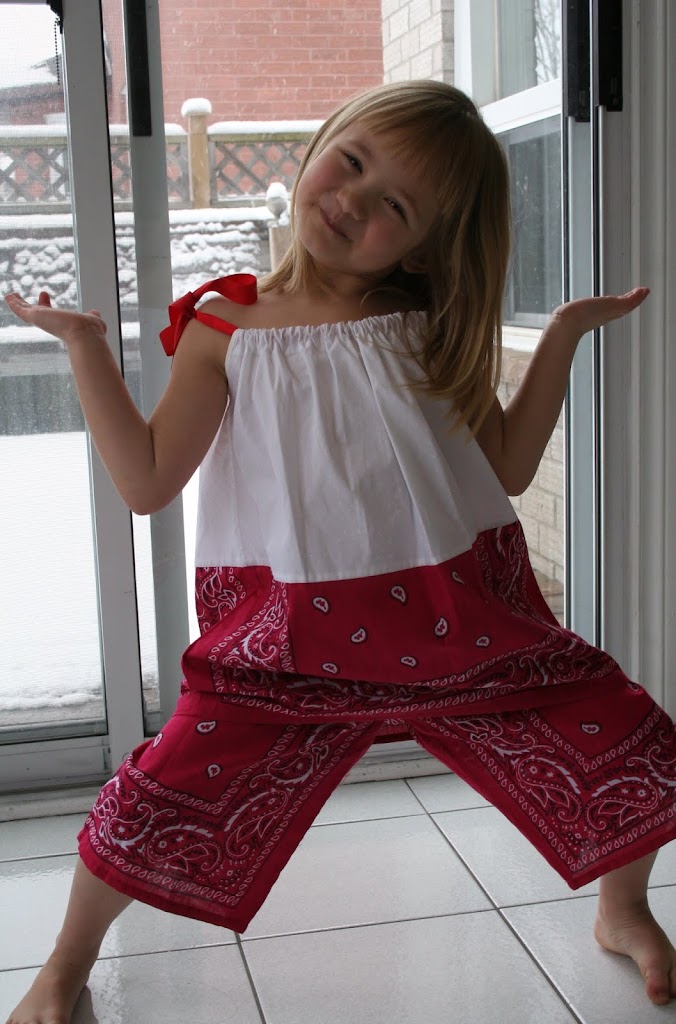
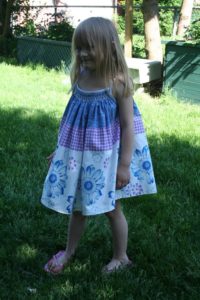
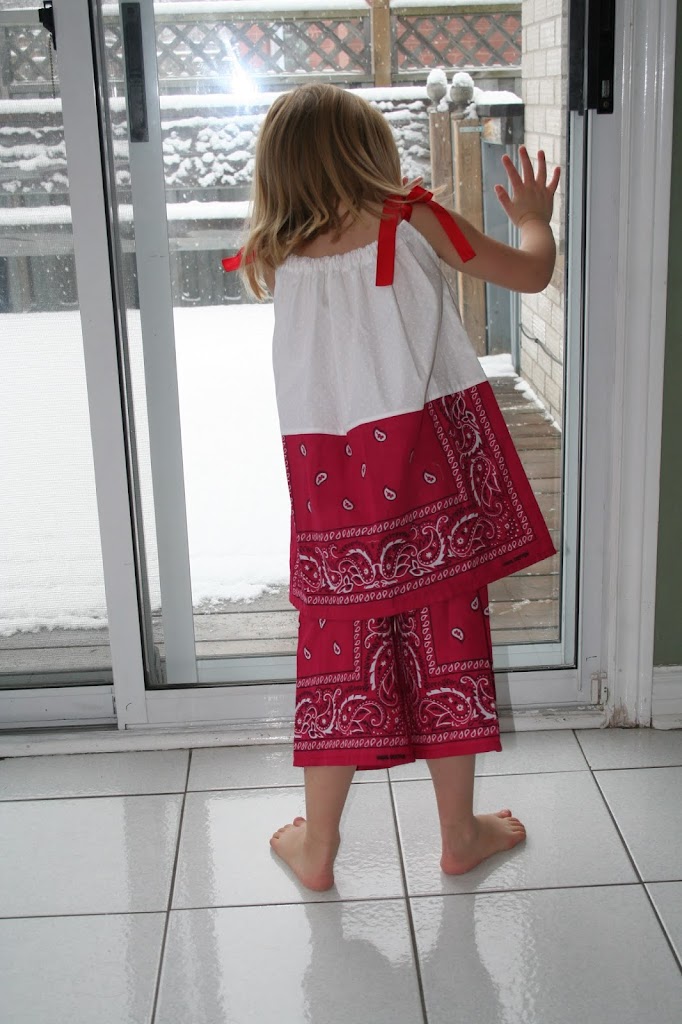
Pillowcase and Bandana Dress

 It’s great to work with bandanas. Using one bandana and half a pillowcase made this adorable dress. Then making a pants from two bananas and we have a lovely outfit.

Adding some red ribbon for ties and it’s all done.
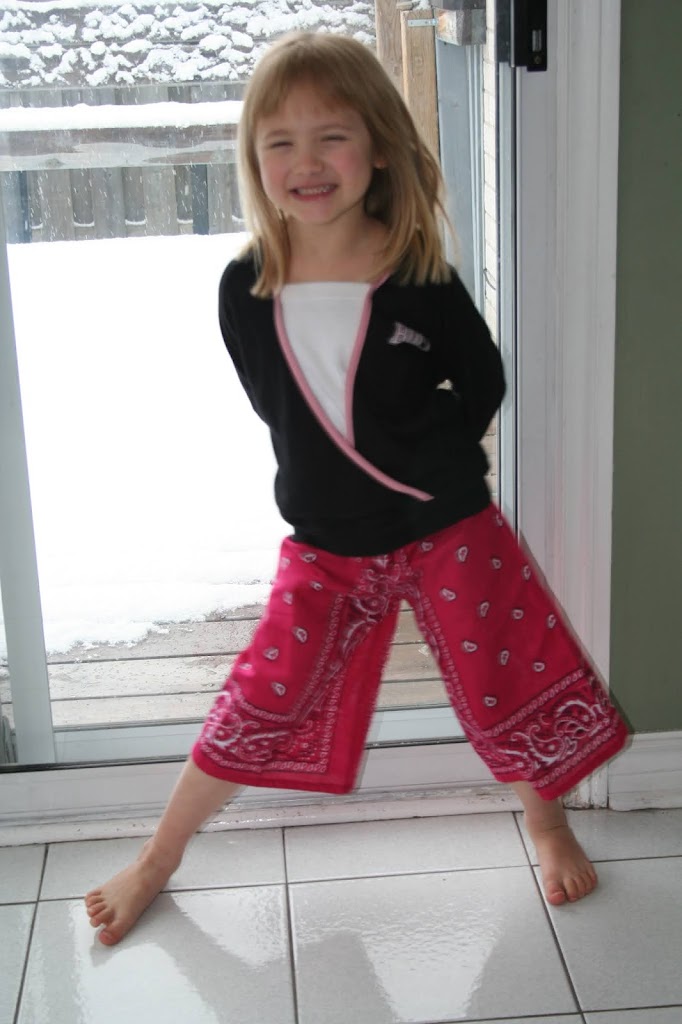
Wear it with a t shirt and jacket as a variation.

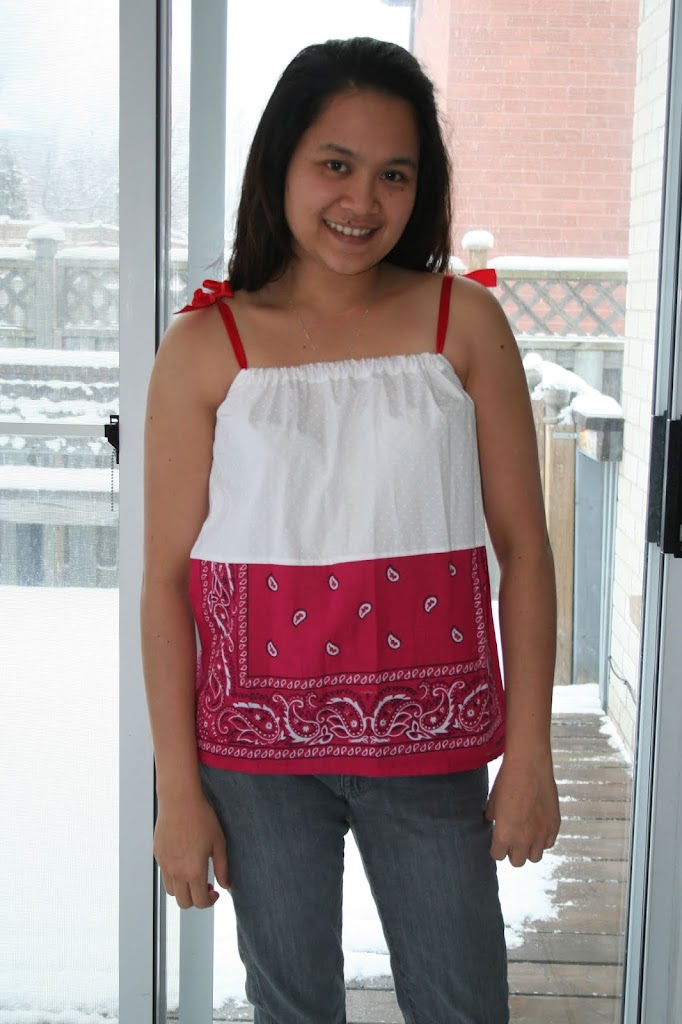
It can also be worn as a top for a teenager or adult.

Using Embroidery Designs For More Than Just Embroidery.
I love surface design. I also prefer my tools and designs to perform multiple duties. So I tend to find several uses for many of the items I have around. I enjoy using different forms of applications for embroidery designs.

I added beads to further embellish this paisley motif. It is from a set of paisley motif designs found here
I printed the design directly onto the fabric using freezer paper as a stabilizer. This design can be found in my etsy store here.
 I used acrylic paint with fabric medium to paint the design onto the chambray. I’ll be using it for a pocket on a bag.
 This is The Nina Bag. Here I also used acrylic paint with a fabric medium to complete this design. The downloadable PDF pattern with free embroidery design is available here.
 Since the fabric was dark, I was unable to print the design directly onto the fabric. Instead I used dressmaker’s carbon and pencil to transfer the design. It’s better to outline or cut the pattern piece before doing the transfer. This helps to easily centre the design.
 I like to use an embroidery hoop when painting smaller designs onto fabric.
 Now I can continue to sew and complete the rest of my project.
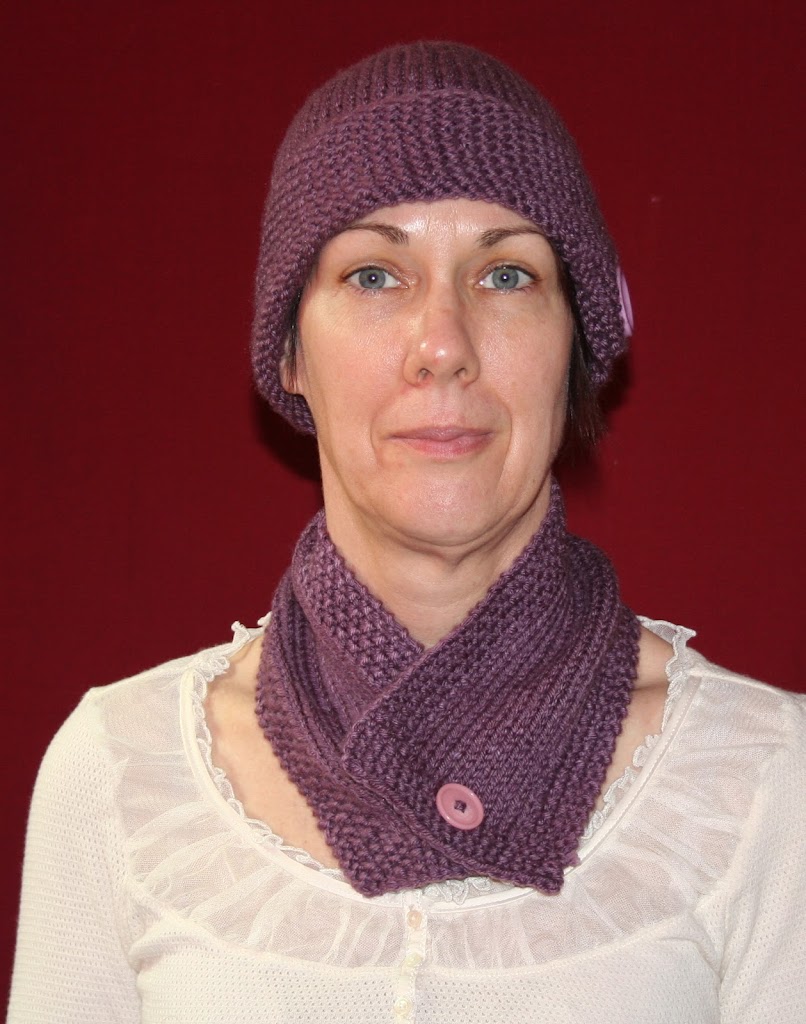
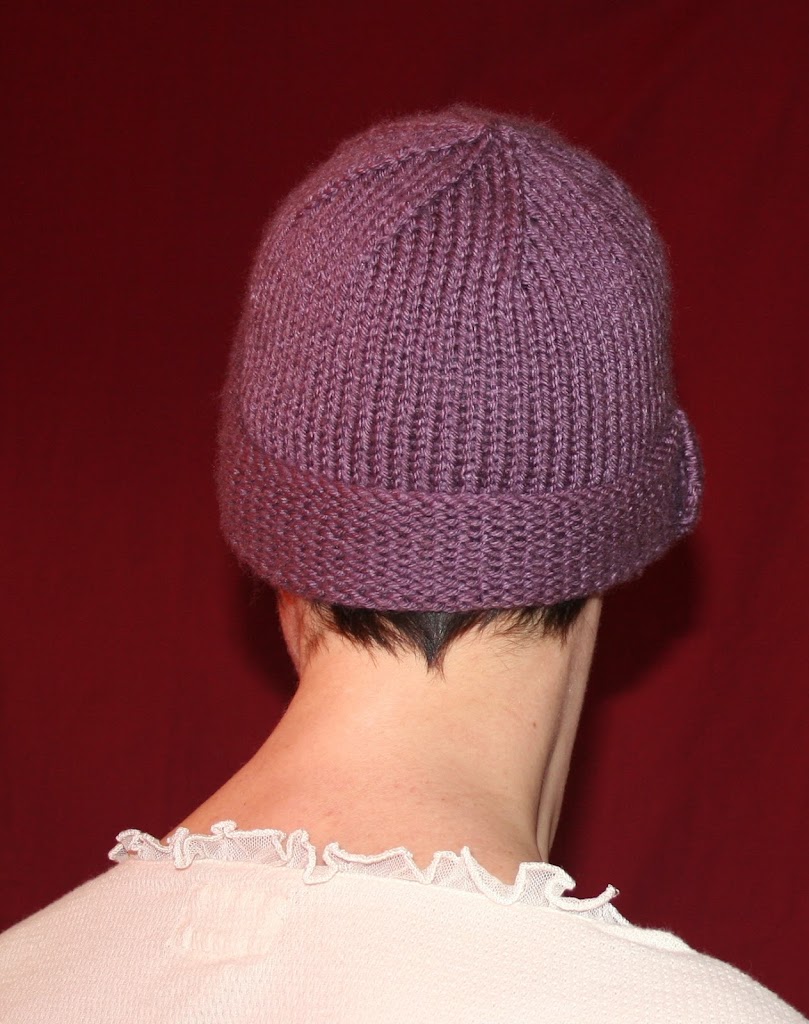
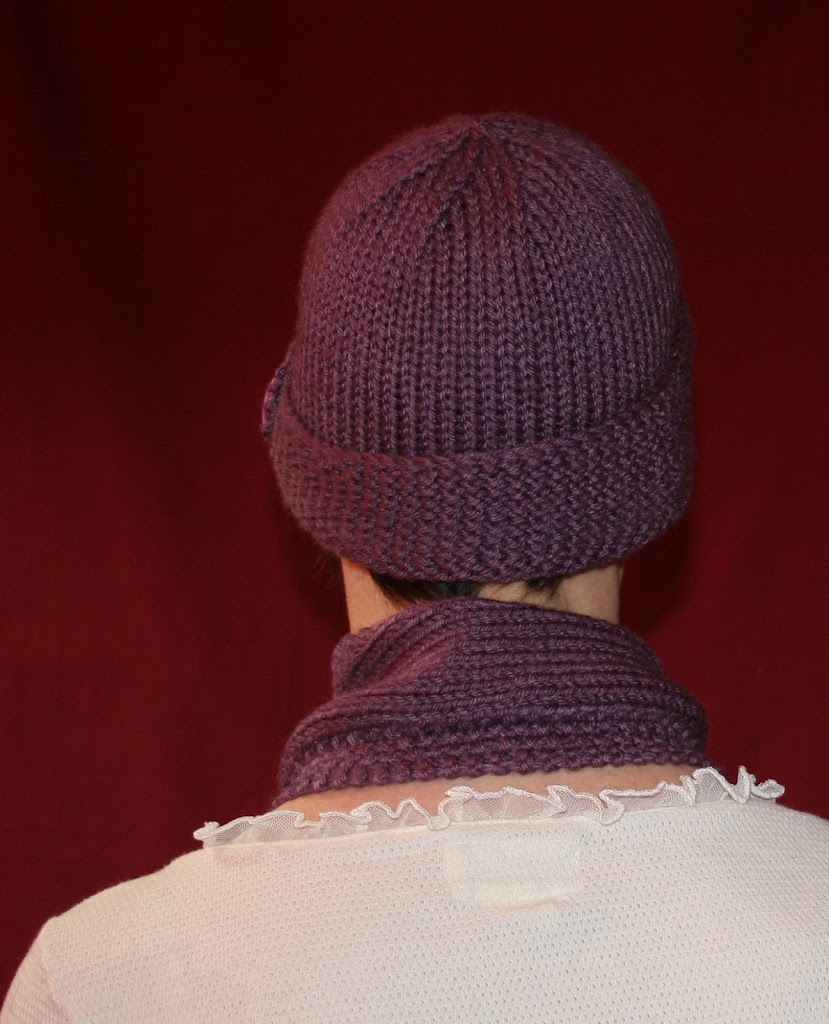
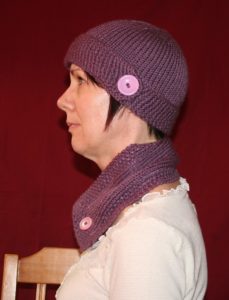
Knitted hats and neckwarmer

On really cold winter days, I find it easier to wear a neck warmer instead of a scarf. With layers, a winter coat and cross over bag, a neck warmer is so much more comfortable and reduces the bulk.

I found this pattern on Ravelry. This set is made with worsted weight yarn and is a great beginner knitting project since only knit stitches are used.
 However, here is a variation where purl stitches are used too.
The hat band is knitted using straight needles. The hat body is knitted in the round on four double pointed needles or two sets of circular needles. I prefer knitting with two circular needles. it is much easier to fit and measure as the project progresses. The stitches are less likely to fall off the needle as with double pointed needles.
 I don’t recommend using straight needles for the entire hat.
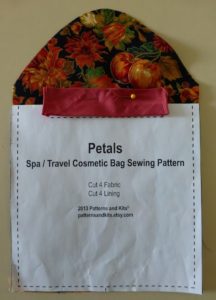
Petals Drawstring Bag with Pockets.
Drawstring Petals Bag

I can’t believe it has been so long since I’ve last published a post.
A PDF version of my Drawstring Petals Bag pattern is now available in my etsy store.
My friend Sawitri was kind enough to test it and take pictures.
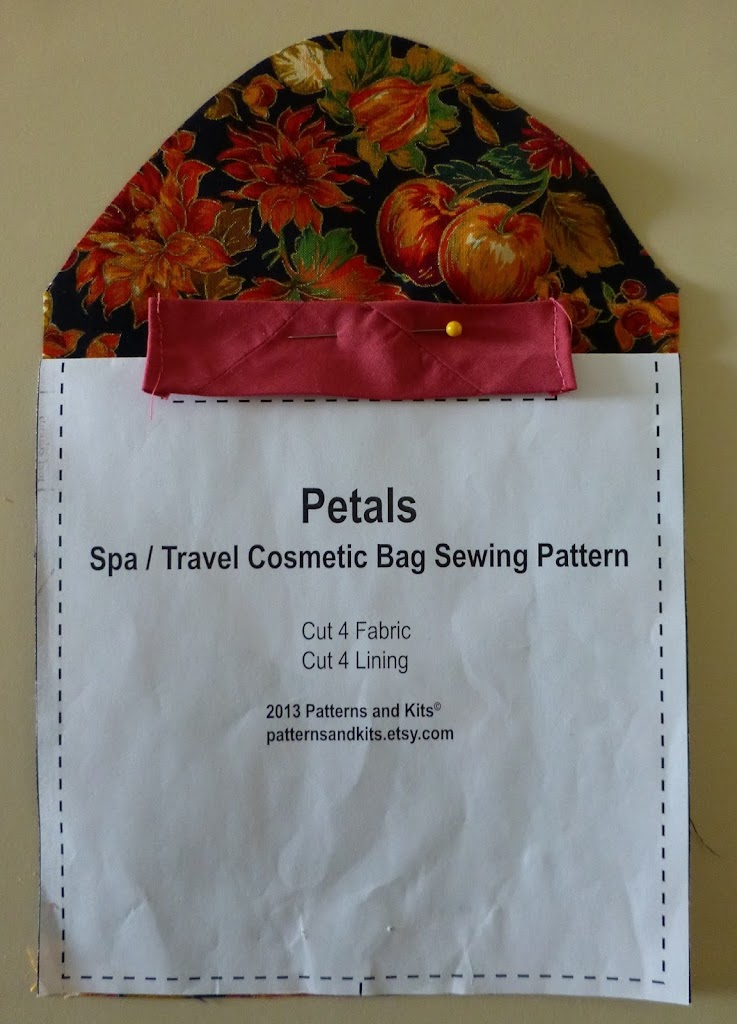
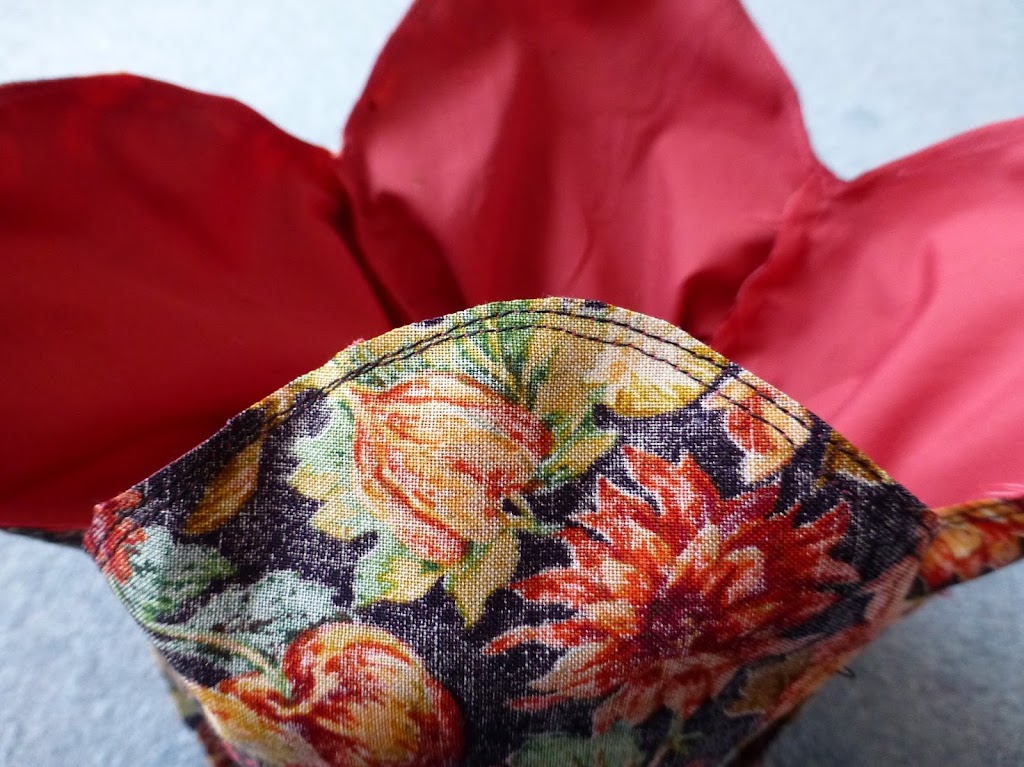
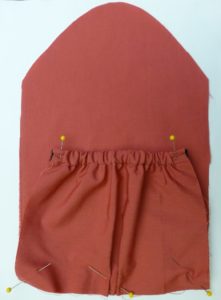
Here are some photos of the instructions. Cut out the patterns pieces from the fabric, lining and batting. You can use pre made bias tape or cut a piece from the lining or fabric.
 Sandwich the batting between the lining and fabric. Quilt the pieces together.
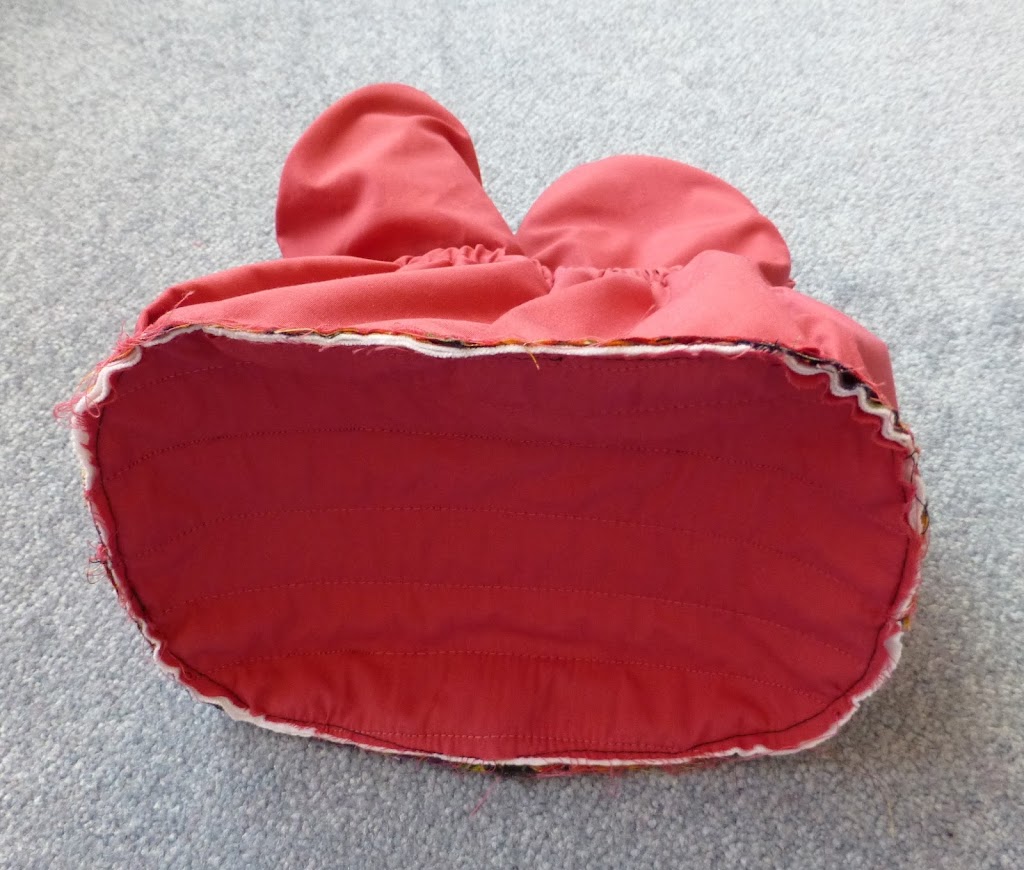
Position the batting around the edge of the bag base and press with a steam iron to set in place. Allow to cool and dry completely.
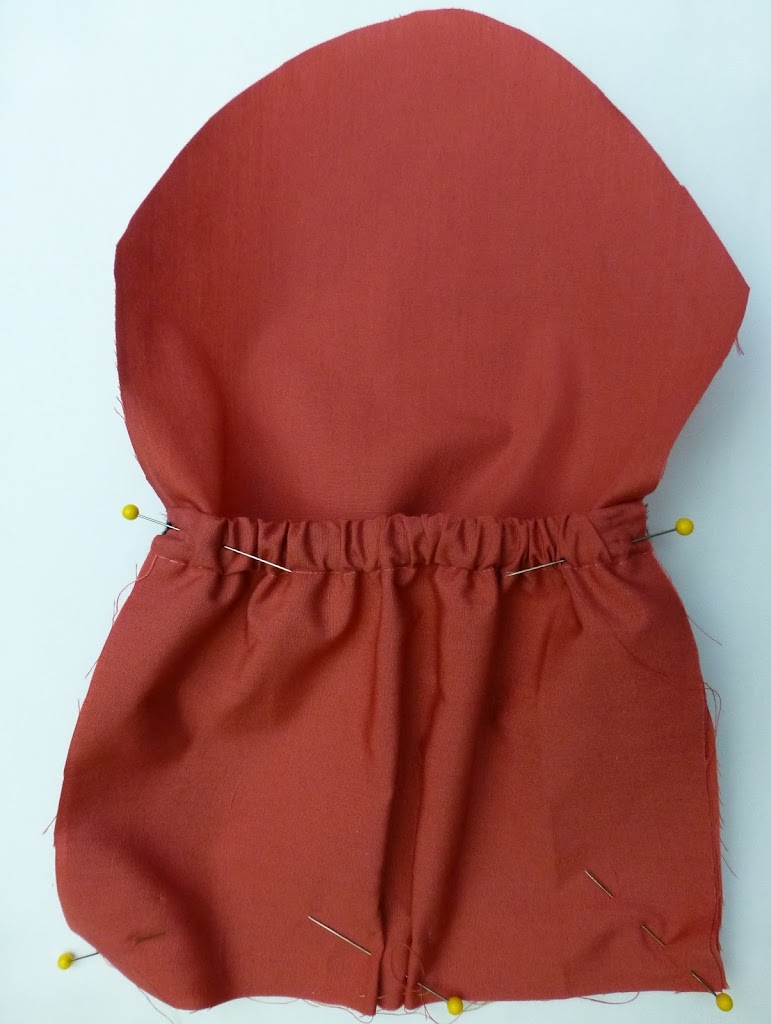
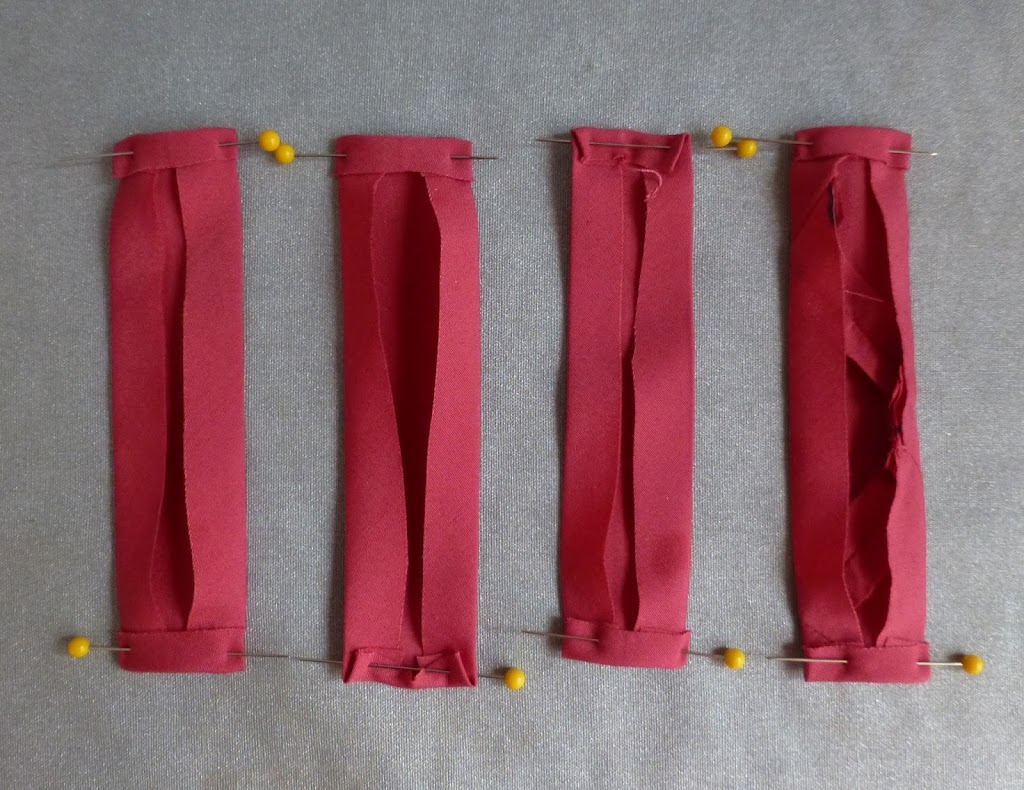
 Fold each of the pocket pieces at the fold line with the right side facing out. Transfer the markings for the pocket pleat. Fold to the center and baste to hold into place. (she did not baste, I suggest you do)
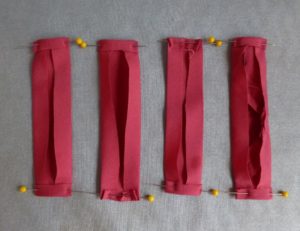
 Sew the elastic casing at the fold on the top of the pocket.Thread the elastic through the casing Pin or stitch to hold the elastic in place.

 Position one pocket piece on the right side of one of the lining pieces.Pin and hand baste to hold in place.Repeat for the rest of the pieces.Pin and sew together the lining panels.Repeat with the other panels to make a tube.
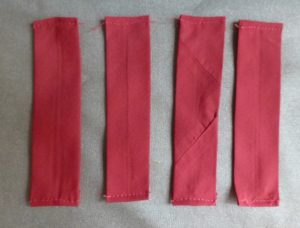
 Fold over the short
ends of the bias tape ¼ inch and sew.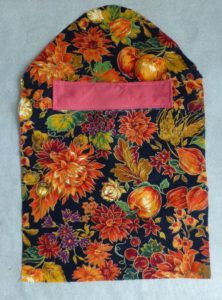
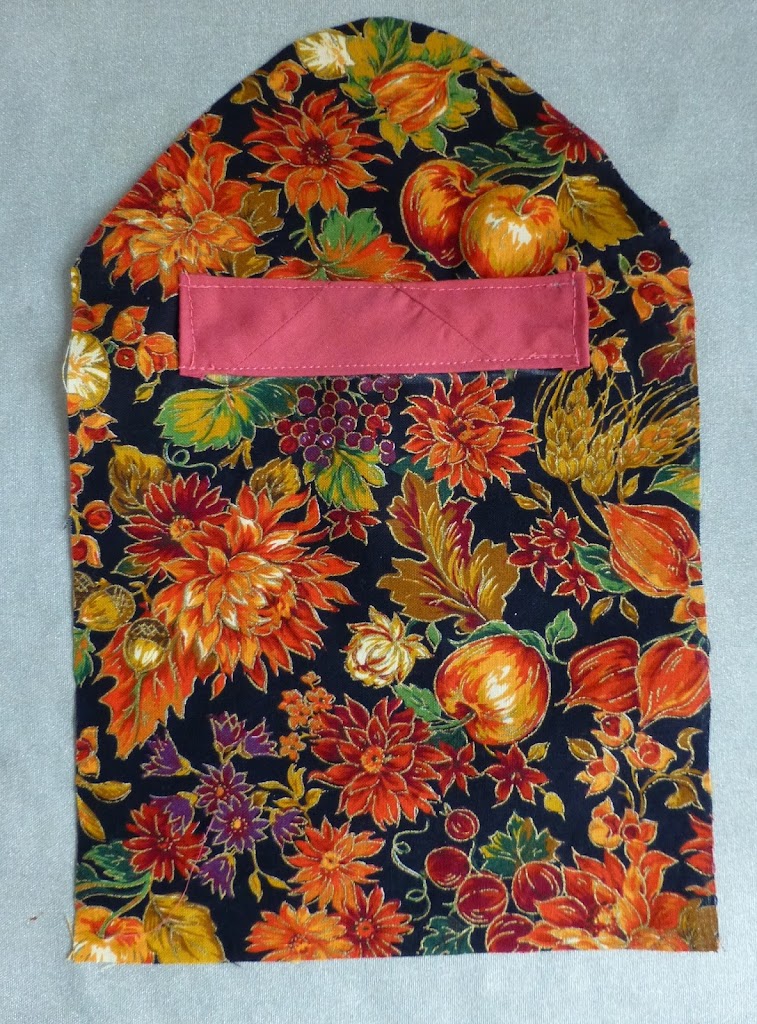
 Position the bias
tape pieces on the markings on the pocket.Top stitch close to
the edge at the top and bottom leaving the sides open.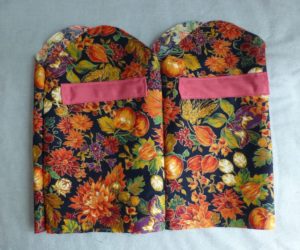 Pin and sew together
the bag panels,Repeat with the other panels to make a tube.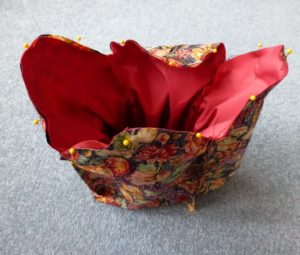 Place the lining inside the bag with right sides facing.Pin and sew the top together.
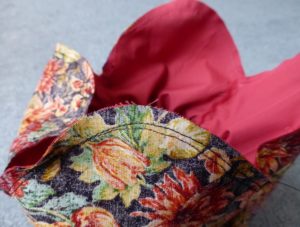 Stitch a second row just beside the first row of stitching. (Optional).
 Trim the seam to ⅛inch.
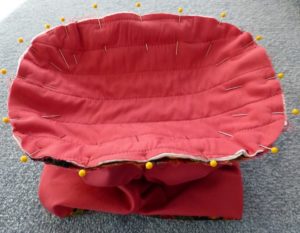 Pin the bag base to the bag body with the right sides
facing.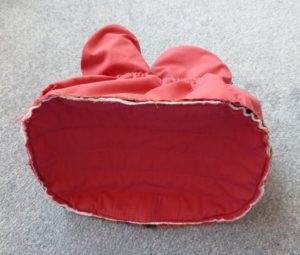 Stitch through all the layers.
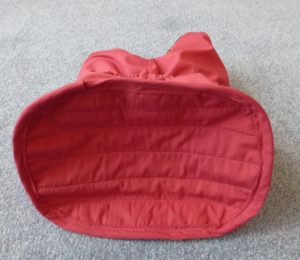 Sew the bias tape over the raw edges.FinishingThread the ribbon through.
Knitted scarf with variegated yarn

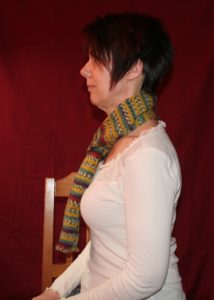
I bought this 50 gram ball of self patterning, variegated, sock yarn more than two years ago. At first, I started knitting yoga socks but then spring came and I put the project away. I tend to only knit during the colder months of the year. The next cold season, I decided to unraveled the yoga socks an and started knitting a pair of plain socks. I did this because I thought I’d get to wear them more often than yoga socks. Since, as I said above, I only knit during the colder months, the unfinished pair of regular socks got stashed away when spring came. (just like the yoga socks did). When this fall came and the mood to knit struck me again, I brought out the pair of socks and started to unravel the project again. This time it started off as a scarf. It took long to knit as the yarn was so fine, but I do like the way it turned out. Fortunately, I completed the scarf just before the “Big Freeze” and seeing as how cold it is this year, there is no way I will be unraveling this yarn again.
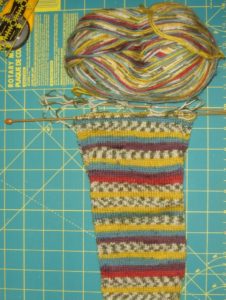
I really love the way this self patterning yarn is engineered to create intricate fair isle design without having to use multiple threads of different colored yarns. All I did was cast on 40 stitches and knitted 5 rows of garter stitch at the beginning and end of the scarf. For body of the scarf I used 30 stockinette stitches flanked by 5 garter stitches on either side, until the ball of yarn was finished.
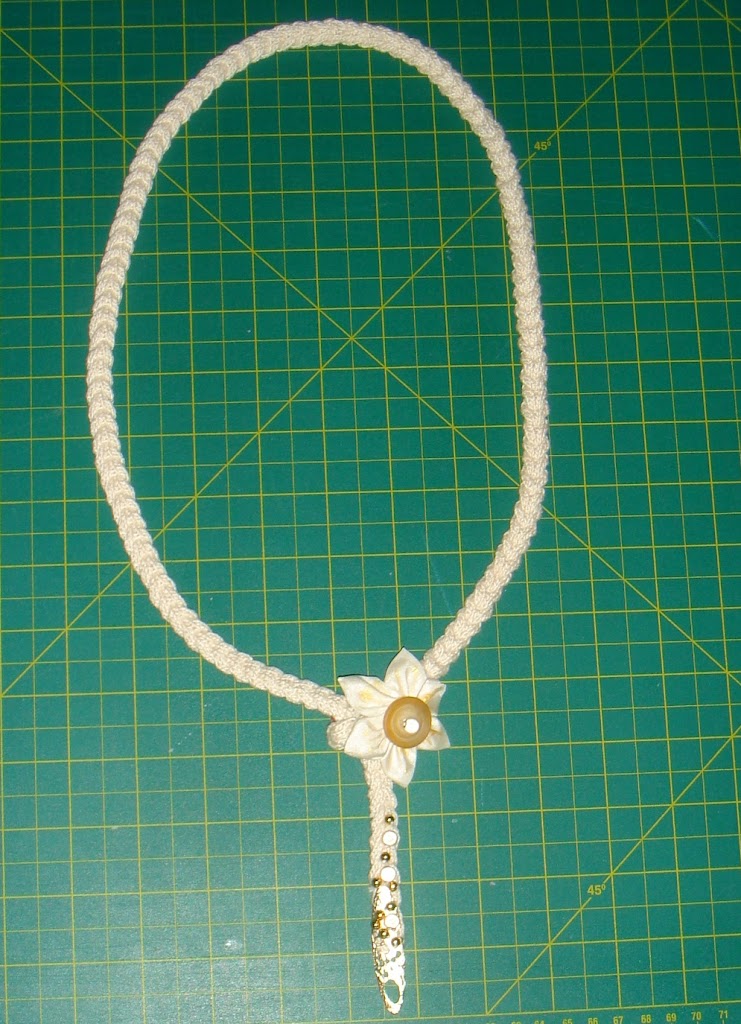
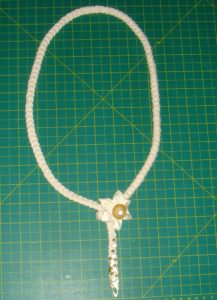
Knitted cotton necklace with Kanzashi flower.
I some vintage crochet cotton left in my stash.
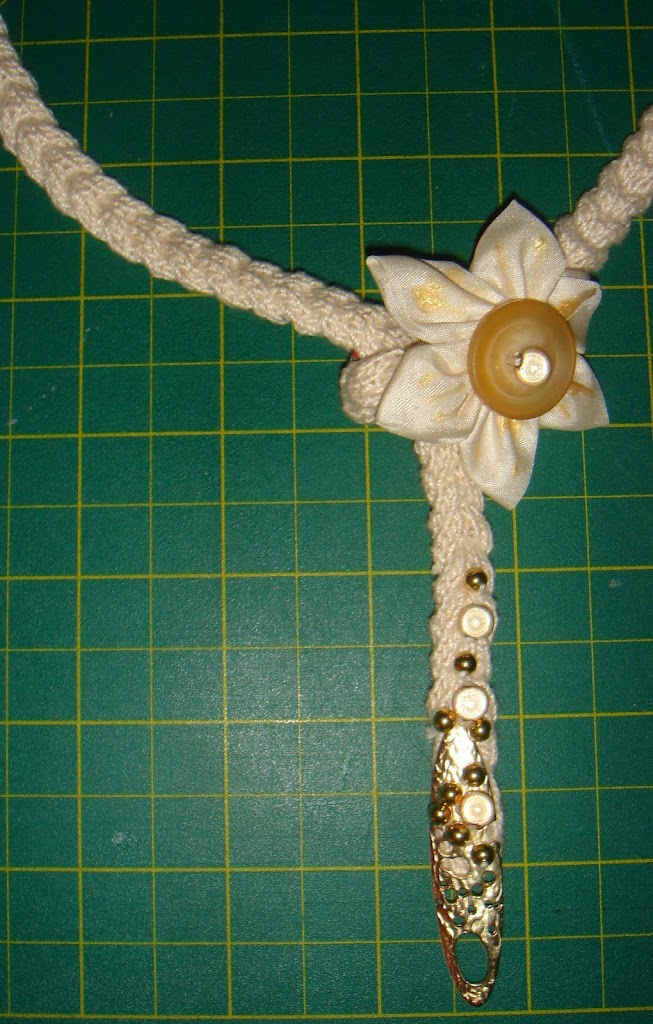
I liked this necklace from olgajazzy. It’s a good beginner project. However I wanted a longer and finer necklace.
So I adapted her pattern a bit. I cast on less stitches and made it much longer.
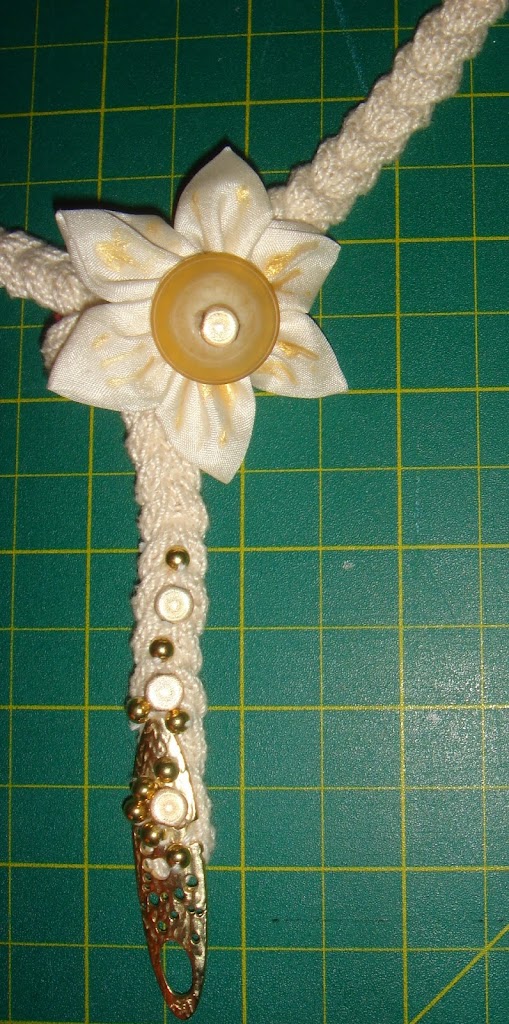
 I made a Kanzashi flower with some silk. I painted the petals with gold fabric paint.
 I attached some beads at the one end to add some weight.
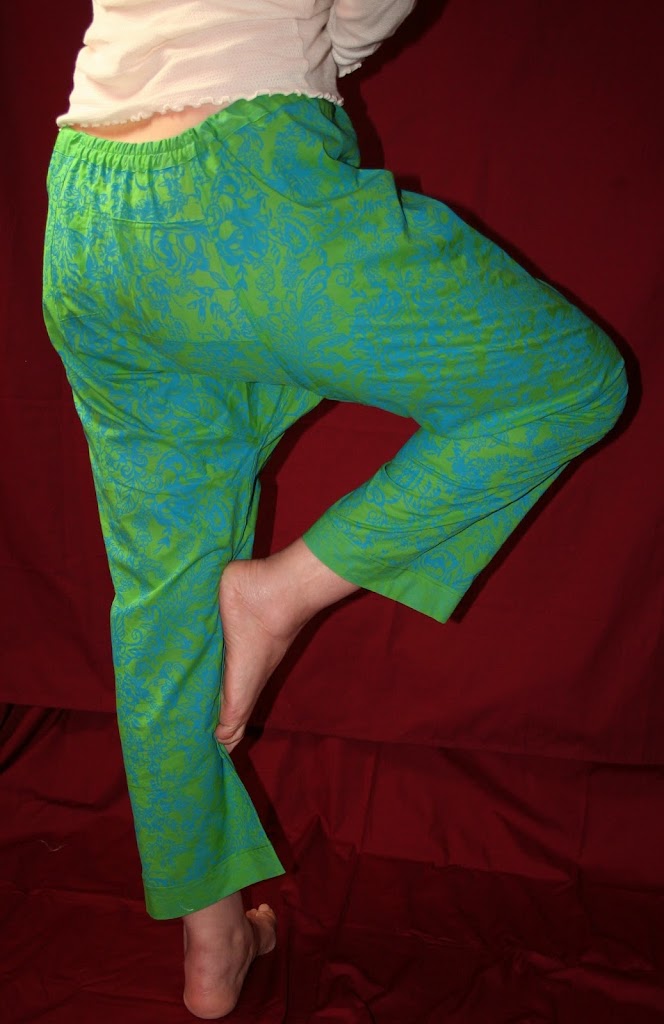
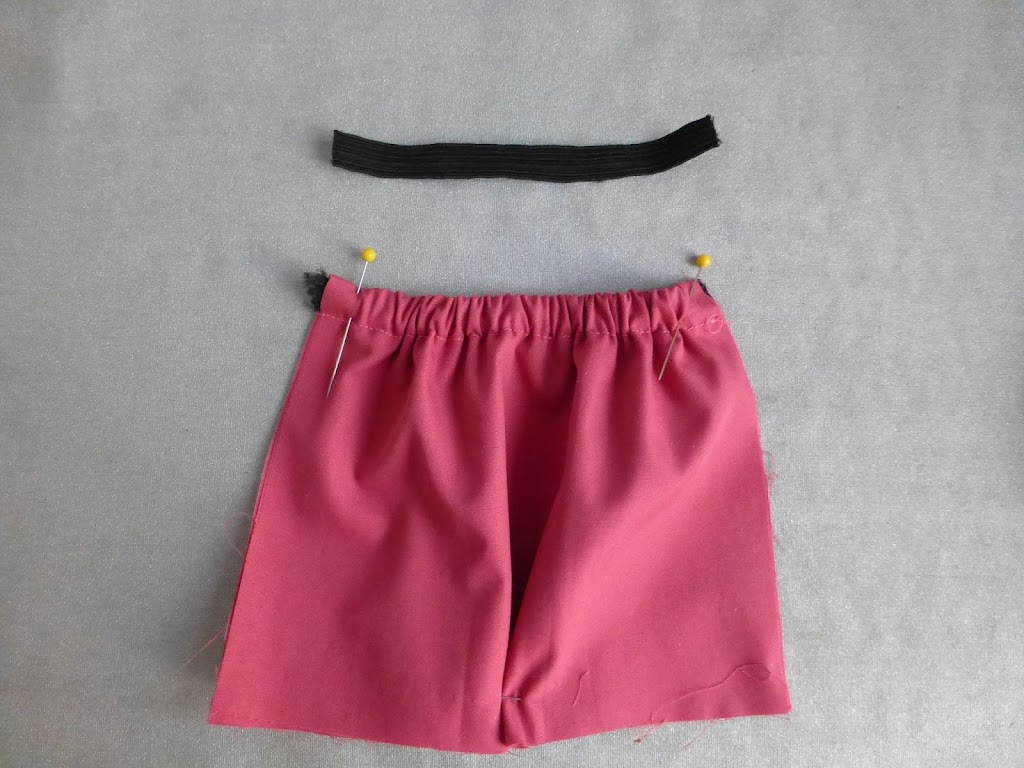
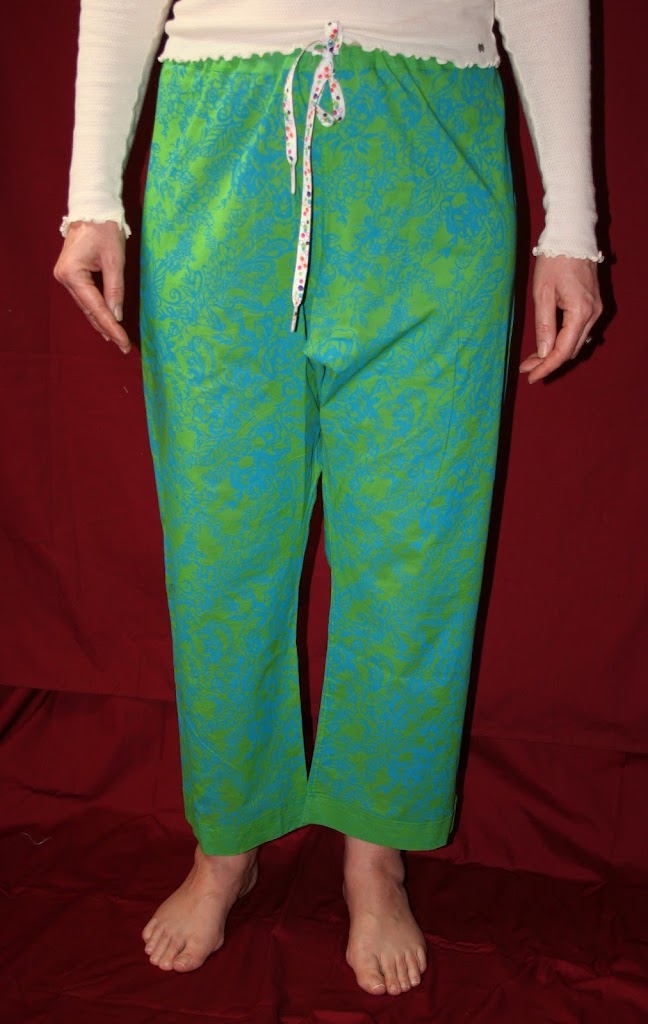
Yoga / Pajama pants
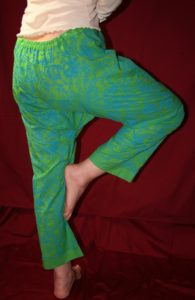

My mother used to sew pants similar to this one for my dad and uncles.
My dad and practically all the men of his generation and older,used
them as underwear and pajamas. They were generally made from plain white
cotton fabric with a drawstring. I remember how all would fold the
bottom a tuck them under their socks. We did not find them appealing
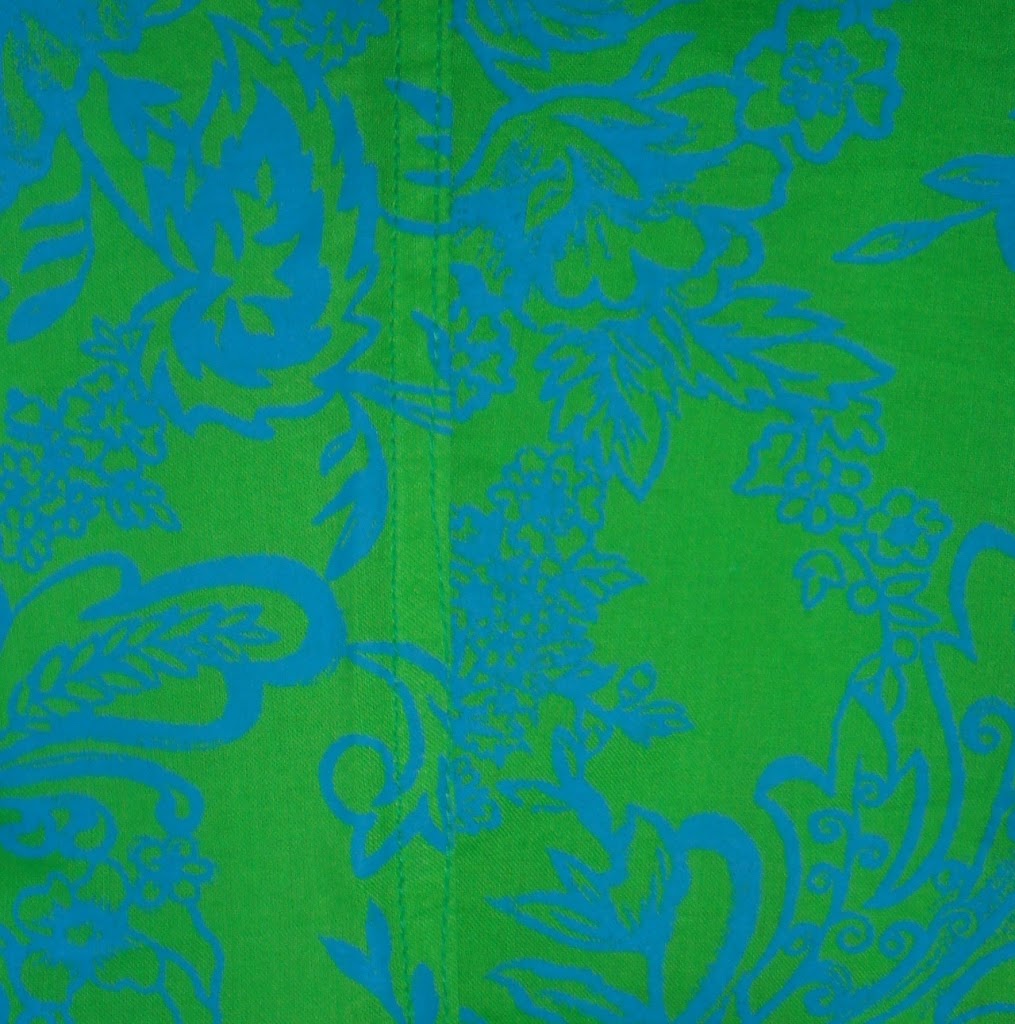
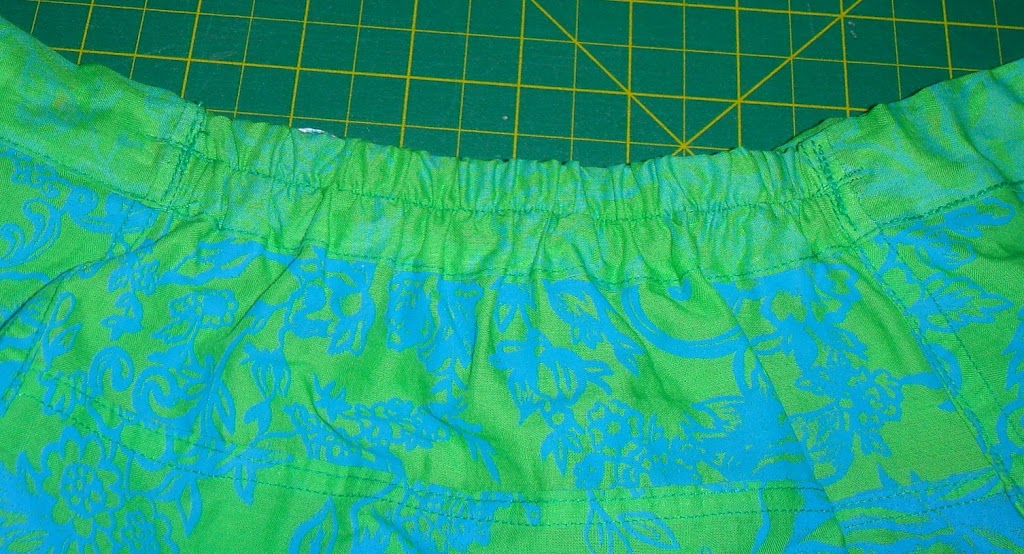
at the time.Recently, I decided to make some using different fabrics. This one is made with fine printed cotton. They are really comfortable and great for lounging.
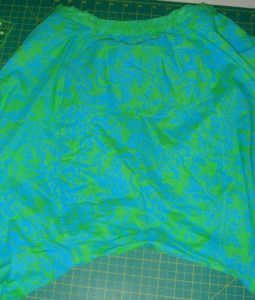
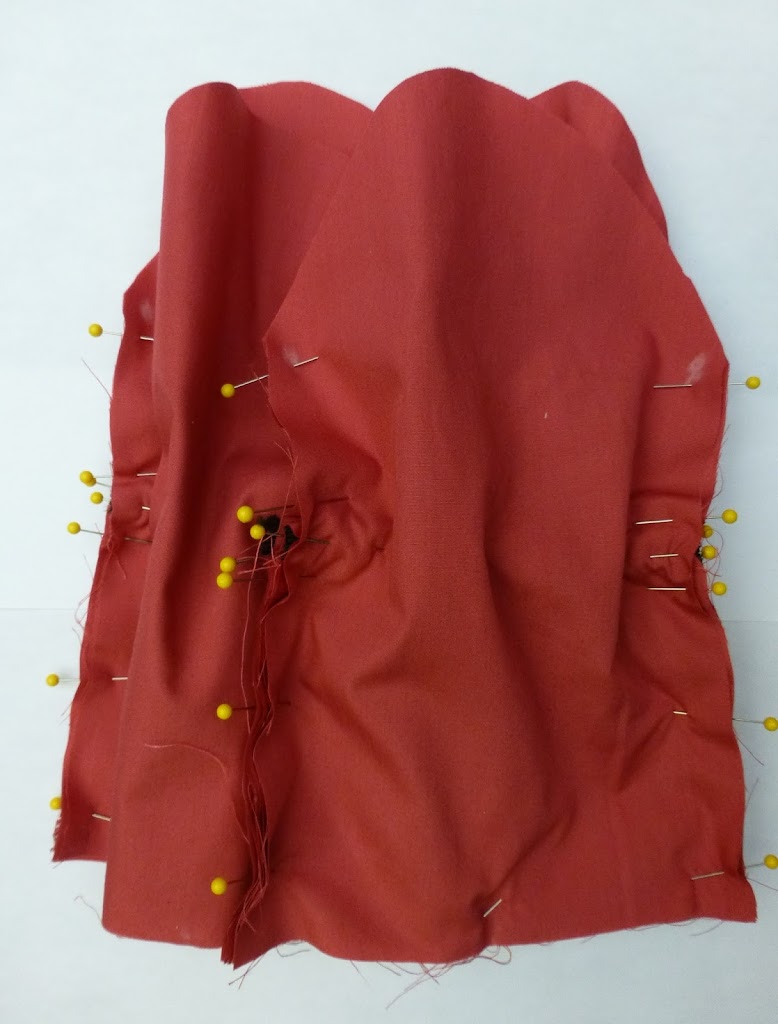
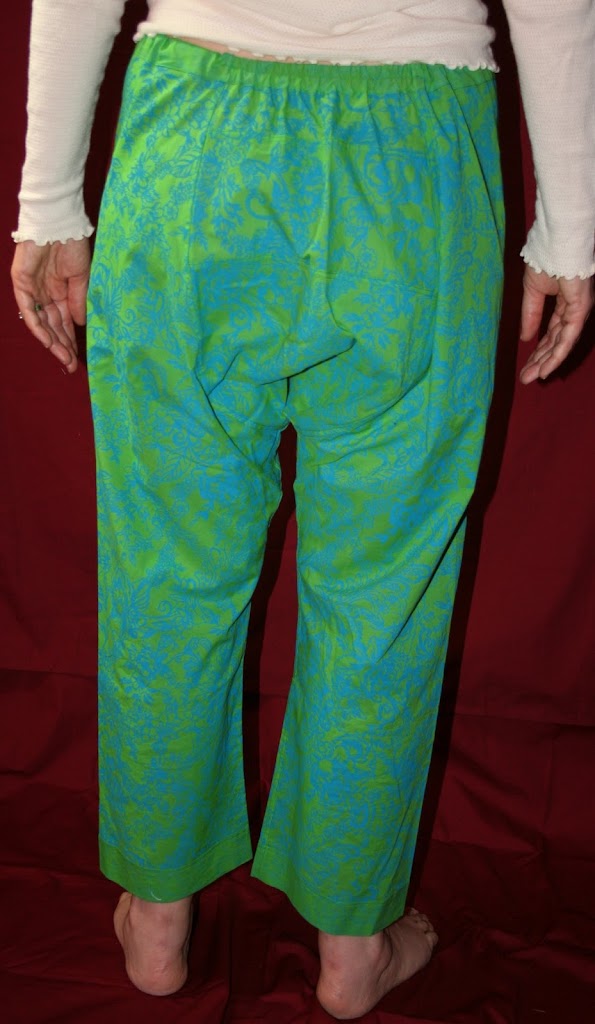
There is an insert in the back for movement and comfort. I did not
have much fabric left for the insert after cutting out the pants so I
joined a few pieces of the scraps I had left until I had enough for the
insert. I quite like the added detail. My mother used a french seam. So I used a french seam too but this version has the seam stitched down on the right side imitating a flat felled seam.
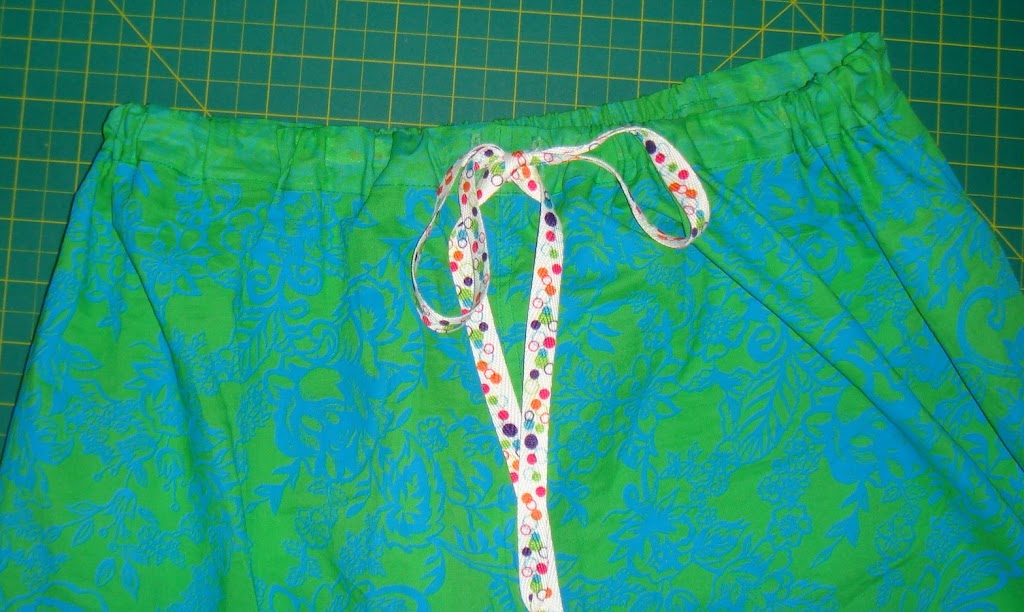
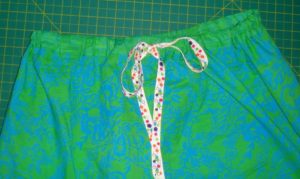 I used shoelaces for the drawstring.
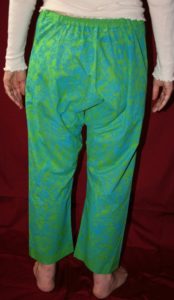
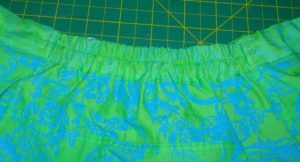 Instead of a drawstring all around the waistband, this one has a partial waistband and a piece of elastic at the back.
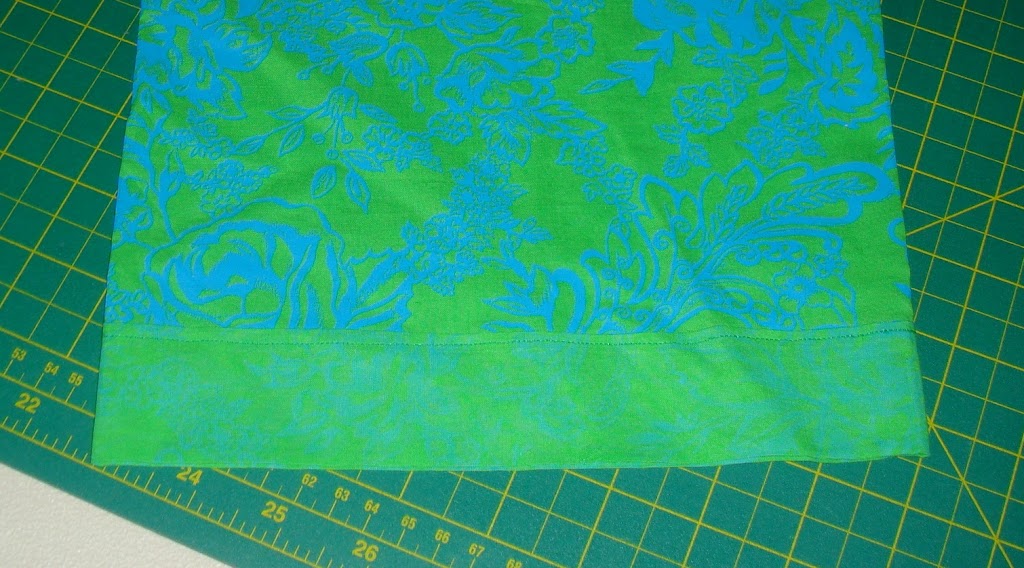
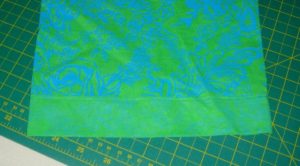 I turned the hem at the bottom and at the waistband outward for the contrast.
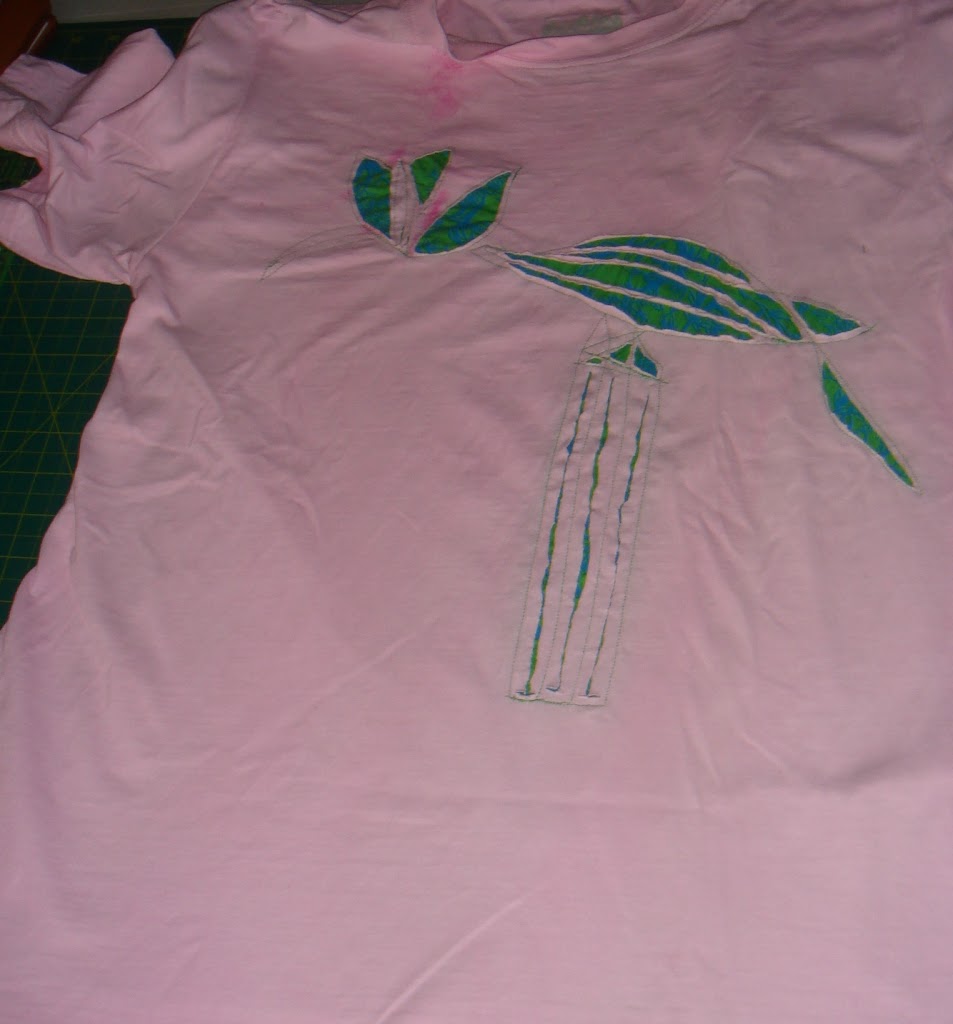
For a top I upcycled one of my husband’s torn white t-shirts.
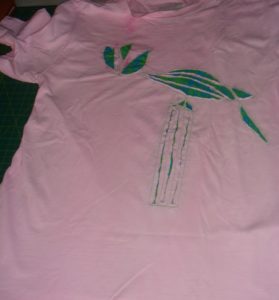 Since it was October and breast cancer awareness month, I decided to dye it pink with the I had left in my stash.Then with the scraps of fabric I had left from the pants, I experimented with some reverse applique.
Quick and easy hat or bonnet display. Tutorial.
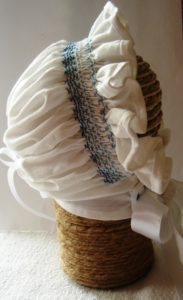
I needed a display stand to photograph the bonnets that I smocked. So I decided to use some items that I had lying around the house to make one.
The stand was very easy to make and if you don’t have the supplies listed below, you can improvise with a substitute.
You will need :
- A Styrofoam ball
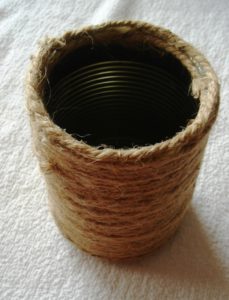
- A washed and dried empty food can
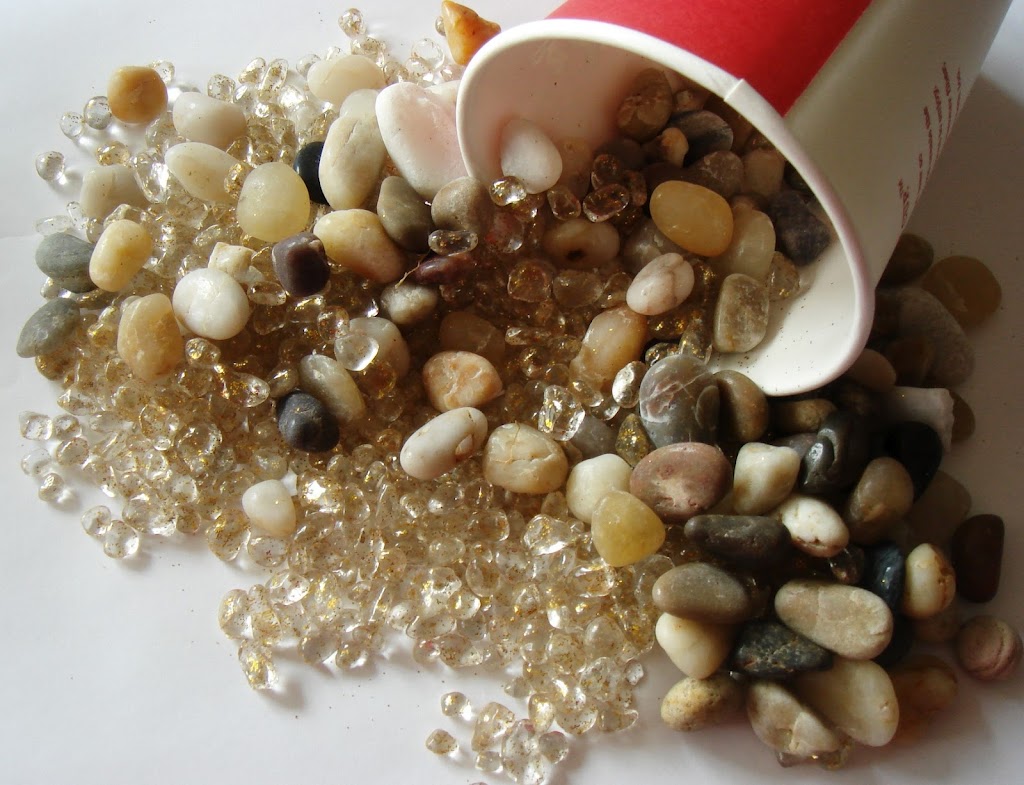
- Some stones
- A ball of string, rope or twine
- A glue gun

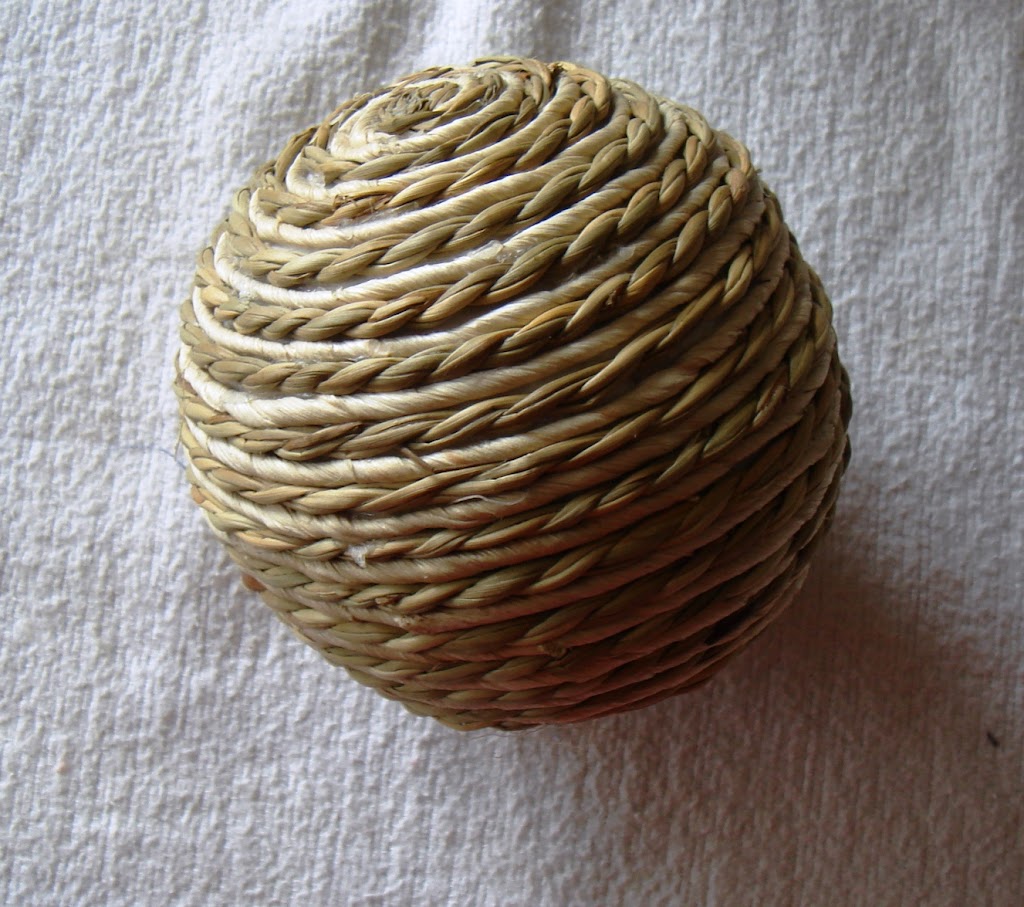
The ball size you require of course depends on the size bonnets or hats you are making. A bonnet that is sized for a newborn to 6 month old will need a ball about 4 inches in diameter. A tennis ball will probably work well for a preemie sized or a doll’s hat.
Wrap some rope or twine around the ball and secure it with some glue. I was lucky to find styrofoam balls at the dollar store that already had the rope wound around it.
The size of the ball will determine the size of can you will need to use. The opening should be big enough for the ball to just sit on the top and have have most of it showing. May ball was 4 inches in diameter and the my can opening was 3 inches in diameter. You will have to experiment until you find a can that looks right with the ball sitting on top.
When you find the right sized can, wrap some rope or twine around it and then secure the beginning and end with some glue.
By the way you can also use a plastic plant pot instead of an empty can, if you prefer.

I used some stones help to weigh down my display stand. If you don’t weigh the stand down it will have a tendency to topple over as the ball makes it a little top heavy.
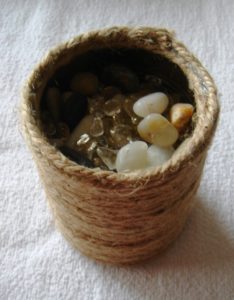
Fill the can up about 3/4’s of the way up to the top with the stones.
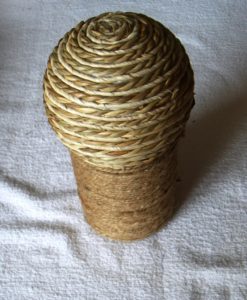
Then place the ball on top of the can.

Finally, secure the ball to the top of the can gluing it with a glue gun.


 I
I